
English
Whiteboard Data Cards
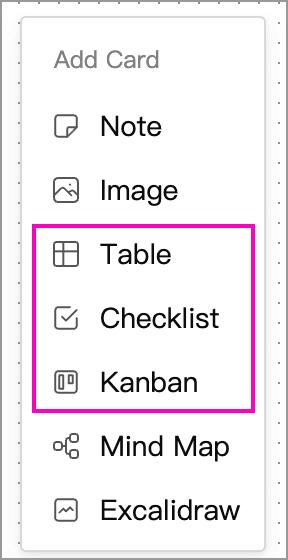
Drag an icon from the toolbar at the lower left of the whiteboard and drop it on the canvas to create a card there. The three highlighted icons are Table, Checklist, and Kanban, from left to right. Each creates a data card and sets its initial view.

You can also right-click an empty area of the canvas and choose the type by name from the Add Card menu.
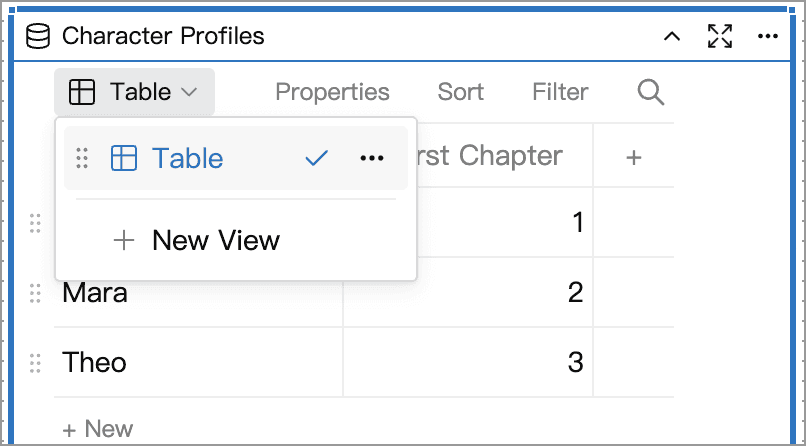
For example, start with a table of characters and record each character’s name, faction, and the chapter where they first appear. Then add a kanban view to the same card and group it by faction. Editing a record updates it in every view.
Set Up Views and Fields
Click the view name at the upper left of the card, choose New View, then select a type. Use a view’s more menu to rename, duplicate or delete it. Drag its handle to reorder it. Duplicating a view copies its configuration and uses the same records. Each card needs at least one view. Reopening the whiteboard on the same device restores the last view you used for that card.
Click a column heading in the table to set its field type. The first column is the record title and can hold text, dates, single selections or multiple selections. A date used as a title, for example, can also be edited directly in checklist and kanban views.
Search and Filter
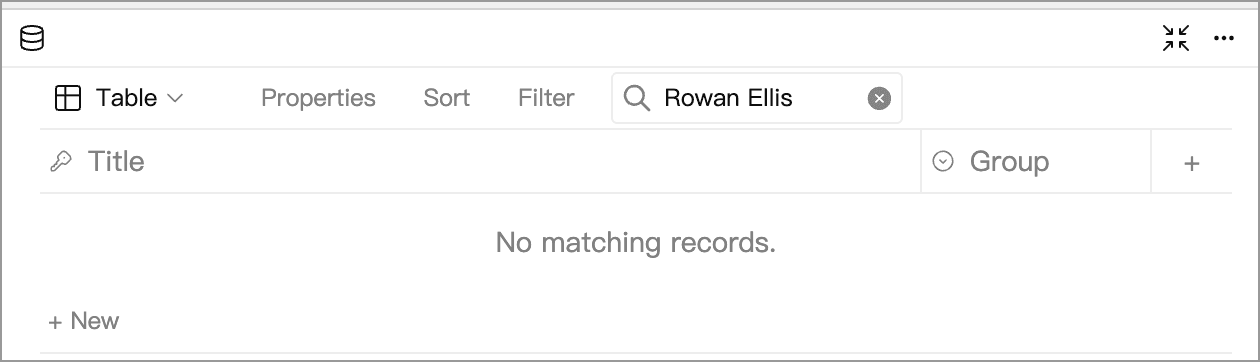
All three views can search titles, text, links, email addresses, option names, numbers and dates. Searching for a faction name, for instance, finds characters assigned to that faction. Search and text filters ignore capitalization. The number on the filter button counts active conditions. If no records match, press Esc in the search box to clear the keyword, then check the filters.
Select and Move Multiple Records
Click a row handle in a table or checklist to add or remove that row from the selection. Shift-click another handle to select the visible range between them. Select All and Invert Selection apply to visible rows. Use the selection toolbar to duplicate or delete records, or to mark checklist items complete or incomplete. On a narrow card, open ··· for additional actions.
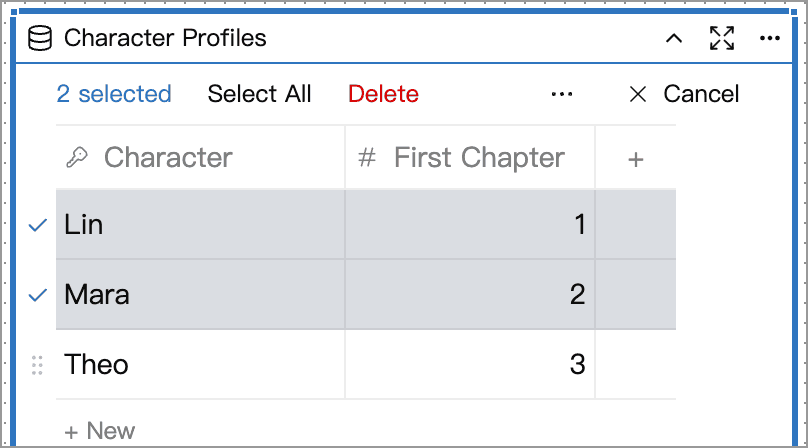
Drag any selected row to move the group in its original relative order. While searching, you can select rows but cannot drag them. You can also select completed checklist items, but you cannot drag them to reorder them. After deleting records, click Undo in the notification to restore them. You may lose the option to undo the deletion if you edit the card’s data again.
Import Records
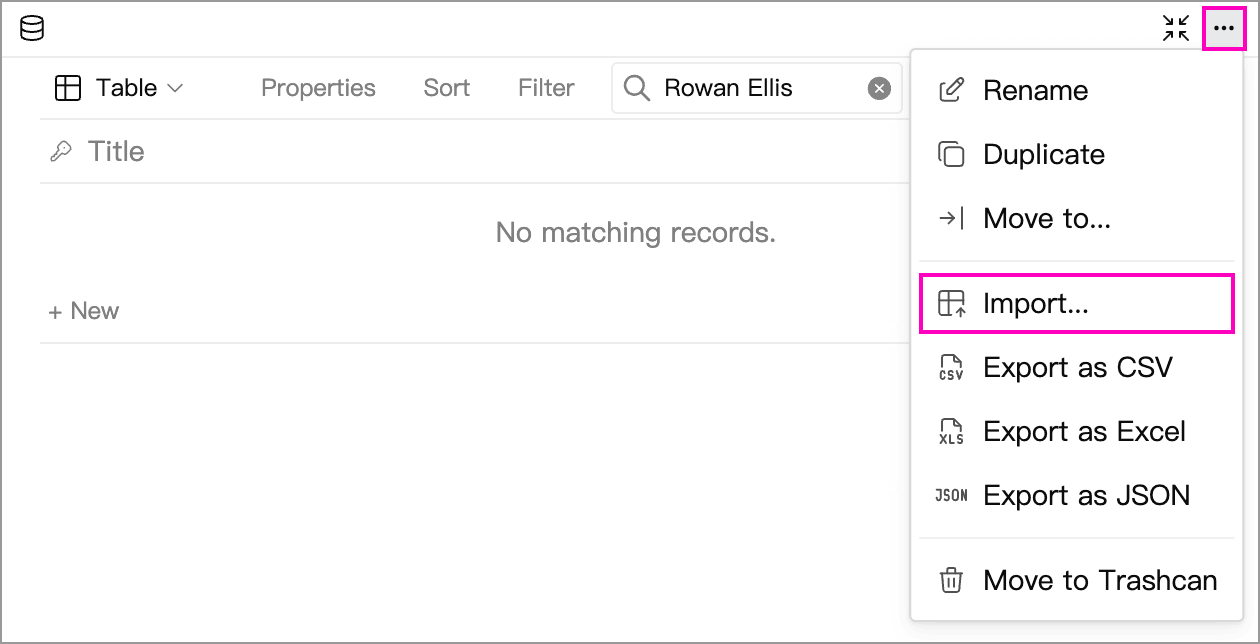
Click ··· in the upper-right corner of the card, choose Import…, and select a CSV, Excel (.xlsx) or JSON file. For Excel, WonderPen reads the first worksheet.
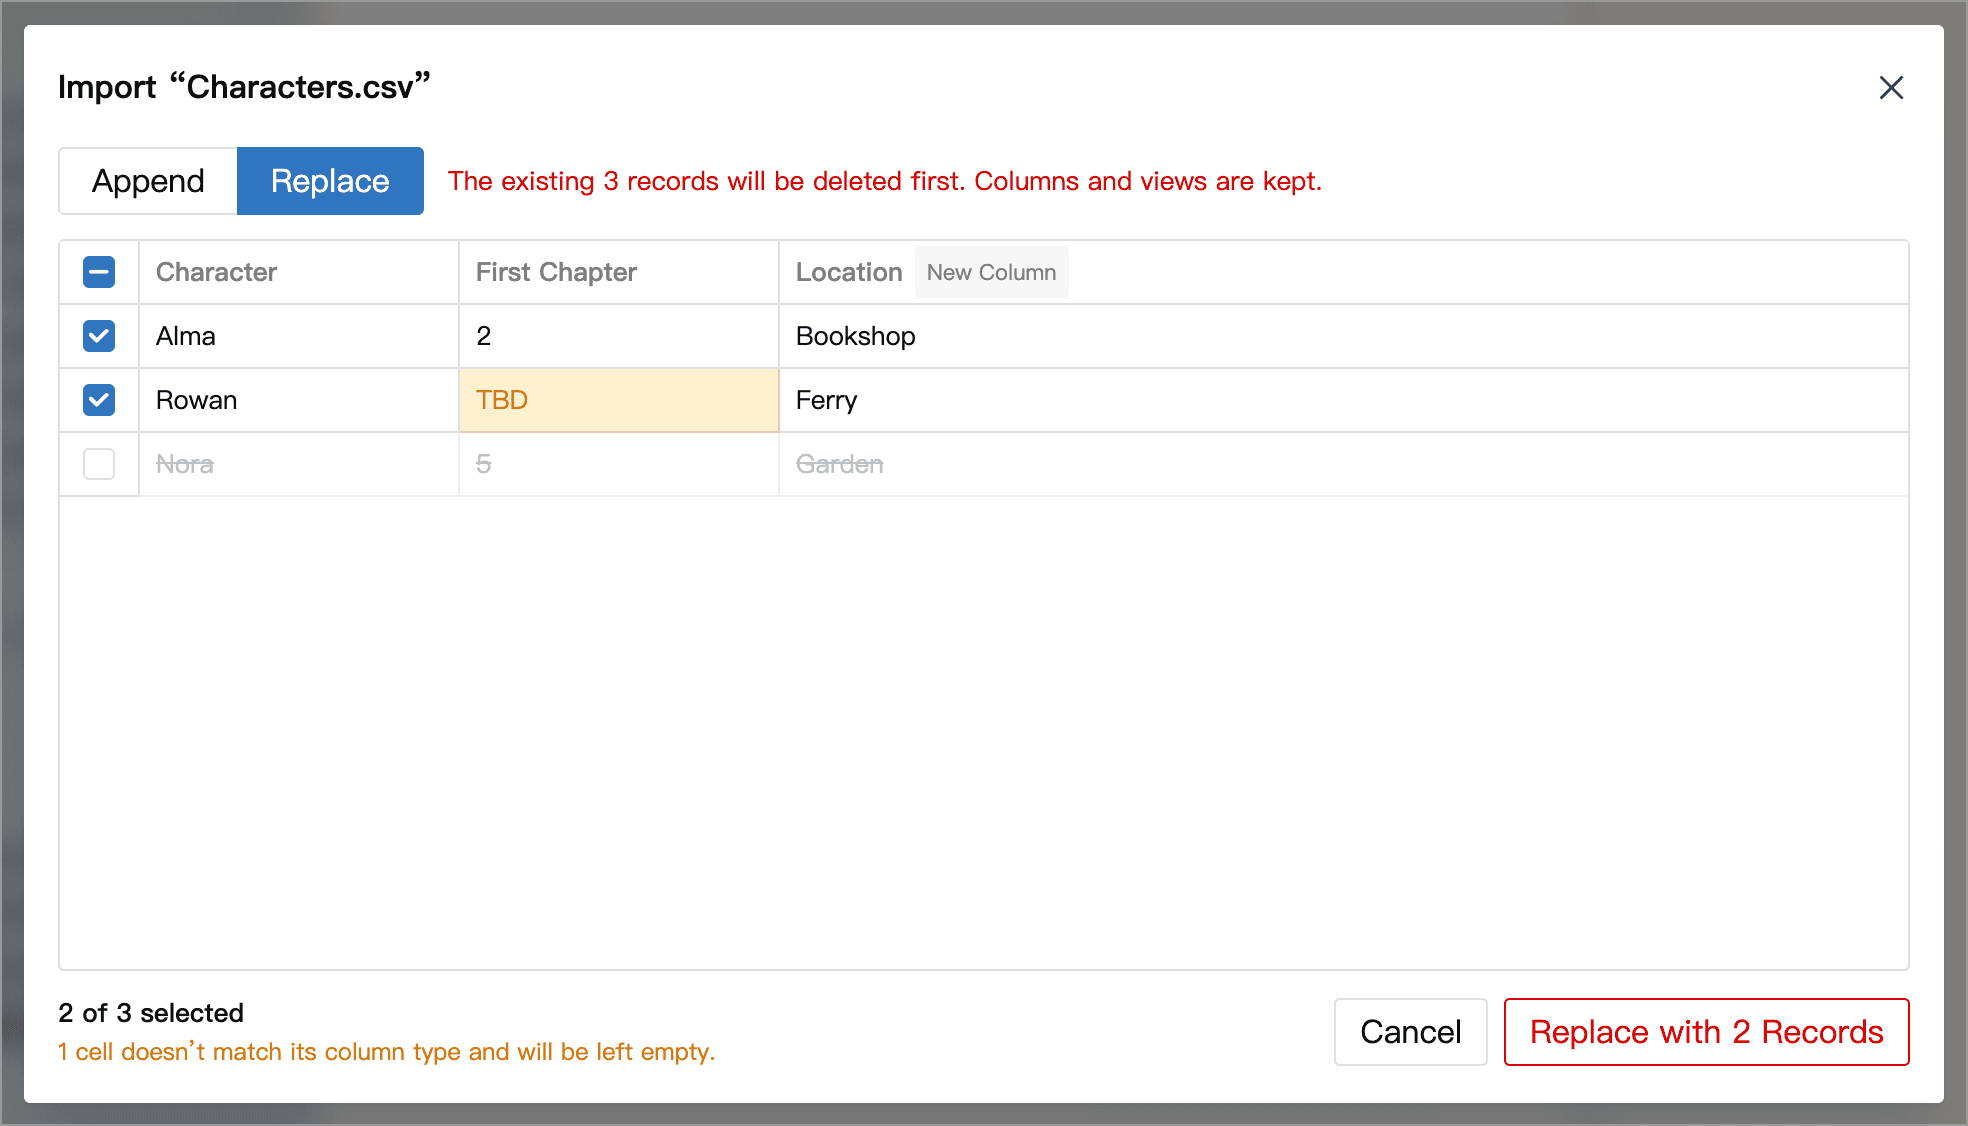
- Check the preview. The first column maps to record titles. Other columns match fields by name. Review new columns and highlighted values that will be left blank because their types do not match.
- All rows are selected initially. Uncheck records to skip them, or Shift-click to select a range.
- Append, the default, keeps existing records. When the card already contains records, Replace substitutes the selected rows for all existing records while preserving the card’s fields and views.
- Confirm the import and check the result. Choose Undo in the success notification to restore the previous state, provided the card’s data and views still match the result of the import.
Choose an Export Format
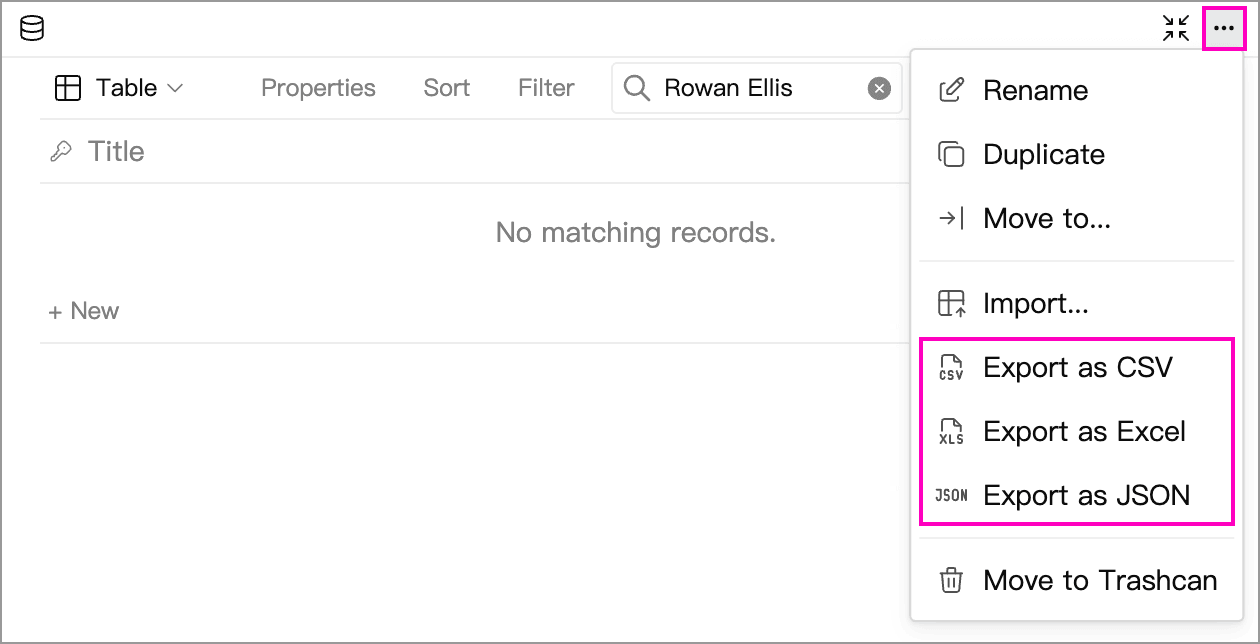
Click ··· in the upper-right corner of the card and choose Export as CSV, Export as Excel, or Export as JSON.
| Format | What the file contains |
|---|---|
| CSV, Excel | Records follow the active view’s filters and sort order. Temporary search terms do not limit the export. Tables export visible columns. Checklists and kanban views export all fields. |
| WonderPen data card JSON | The whole card, including its records, fields, views, hidden columns and filtered-out records. To restore the complete card, import it into an empty card containing only the title field and no records. |