
Card List
Character profiles, places, plot threads, and ideas often need to be consulted while writing. Keep them as cards in the sidebar’s card lists, where you can refer to them alongside your text.
Unlike a memo, which belongs to one document, card lists belong to the entire Library and stay the same when you switch documents. A Library can contain multiple lists, such as “Characters”, “Places”, and “Plot”.
Card lists are useful for organizing text references. For freely arranged cards, connections, tables, kanban boards, or mind maps, use a Whiteboard.
Open the Card List
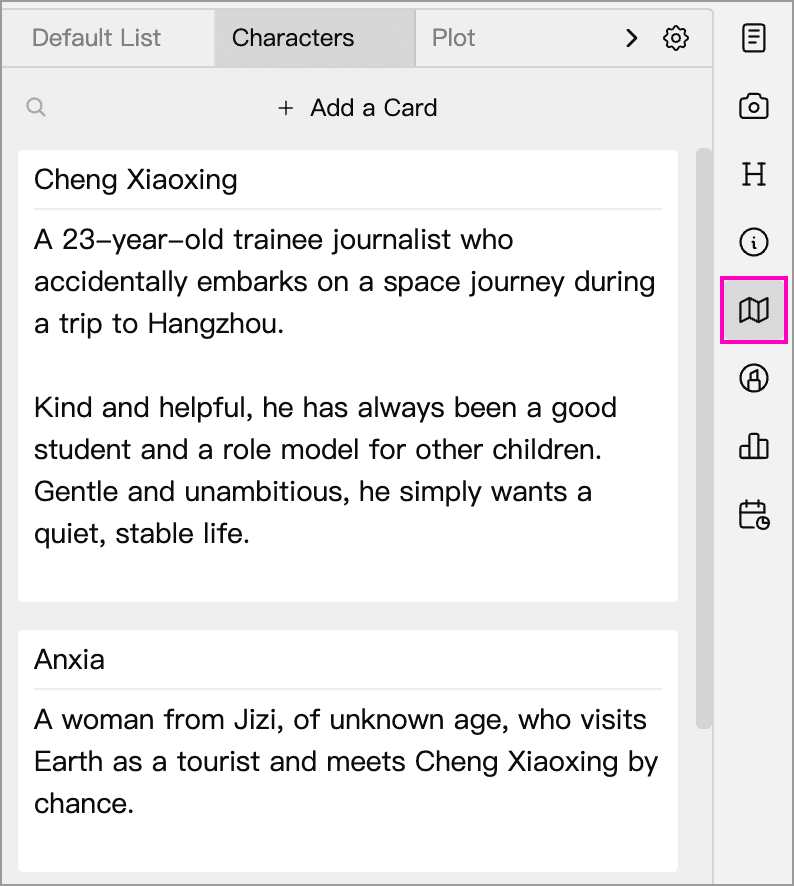
Click Cards in the right toolbar to open the panel. The lists in the current group appear as tabs at the top. Click a tab to switch lists; when there are more tabs than fit, use the arrows at either end to reveal the others.
Add and Edit Cards
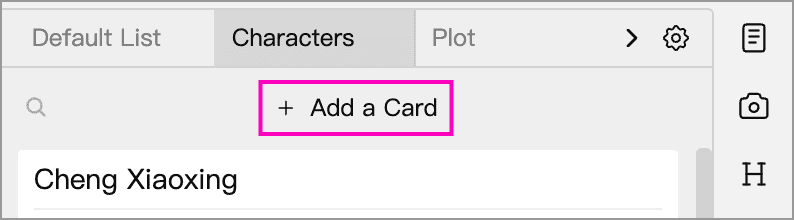
Click Add a Card above the list to create a card at the top of the current list. Each card has a title and a body. Click either to edit it; changes are saved automatically.
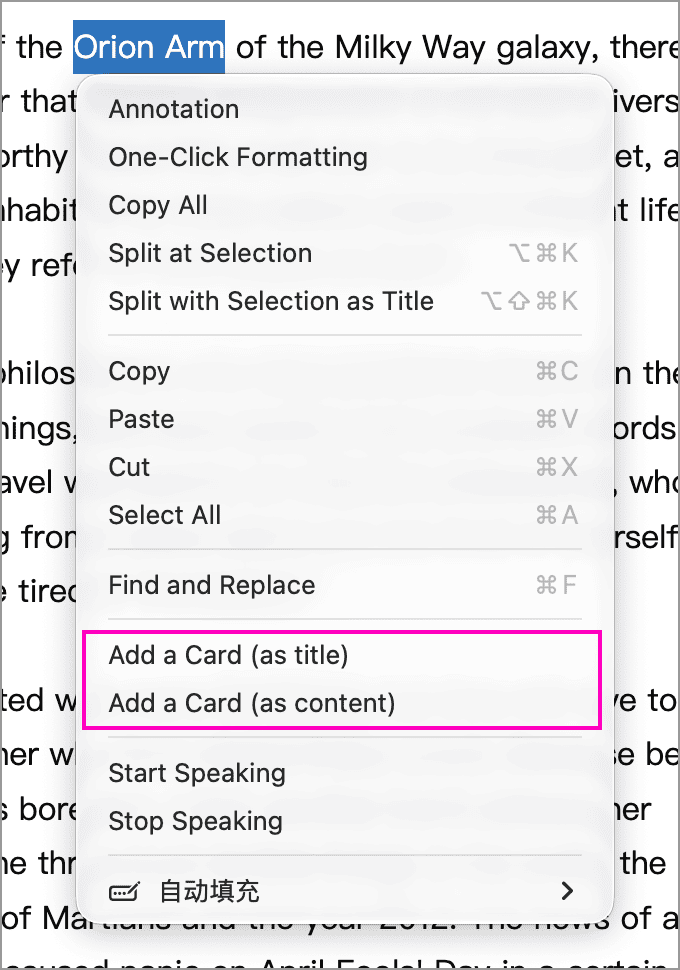
You can also select text in the editor, right-click, and choose Add a Card (as title) or Add a Card (as content). In the dialog, choose the destination list, complete the card’s details, and confirm. To use the selection as a title, select a short, single line of text. Longer or multi-paragraph selections are better suited to the card’s content.
TIP
See Version Comparison for card limits and membership benefits. Refer to that page and the app for current details.
Maximize, Reorder, and Move Cards
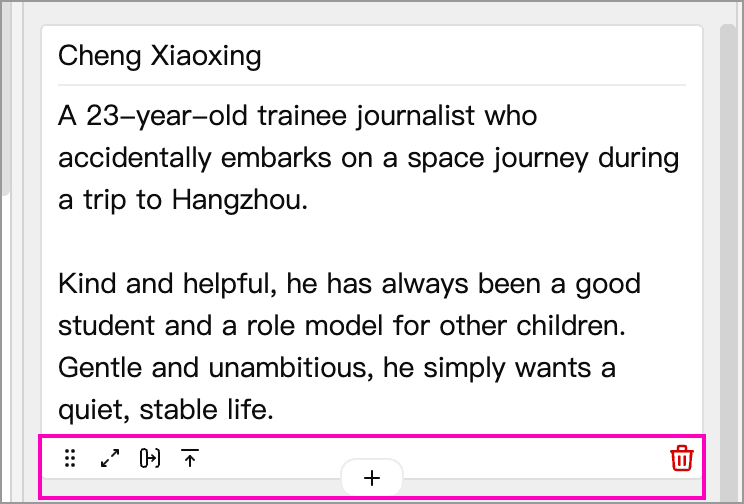
Hover over a card to reveal its tools:
| Action | Purpose |
|---|---|
| Drag handle | Reorder cards within the current list |
| Maximize | Expand one card within the sidebar to read or edit longer content |
| Move to another list | Choose a destination list and move the card there |
| Move to top | Move the card to the beginning of the current list |
| Move to Trashcan | Delete the card; restore it from the trashcan if needed |
Hover over the toolbar at the bottom of a card to reveal a plus button. Click it to insert a new card directly below.
While editing a card, press Ctrl + E (⌘ + E on macOS) to maximize it. With focus still in the card, press the shortcut again or press Esc to return to the list.
Compact view shows only a summary of each card and a limited set of tools. To edit a card, click Maximize or switch to another view. In Normal and Loose views, scroll within a card to read content that extends beyond its height.
Search Cards
Click the search icon above the list and enter a keyword to find cards whose title or content contains it. Search applies to the current list and is case-insensitive. Click the clear button on the right of the search field to show the full list again. Press Esc while in the search field to clear the keyword and close the field.
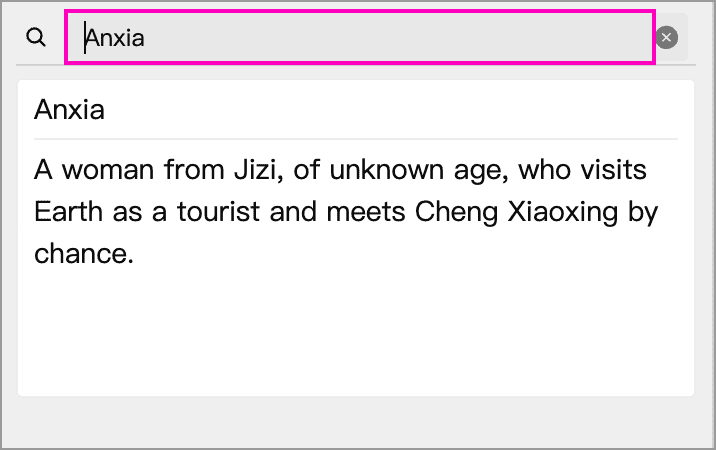
The Add a Card button above the list is hidden while the search field is open. Exit search before creating a card.
Manage Card Lists
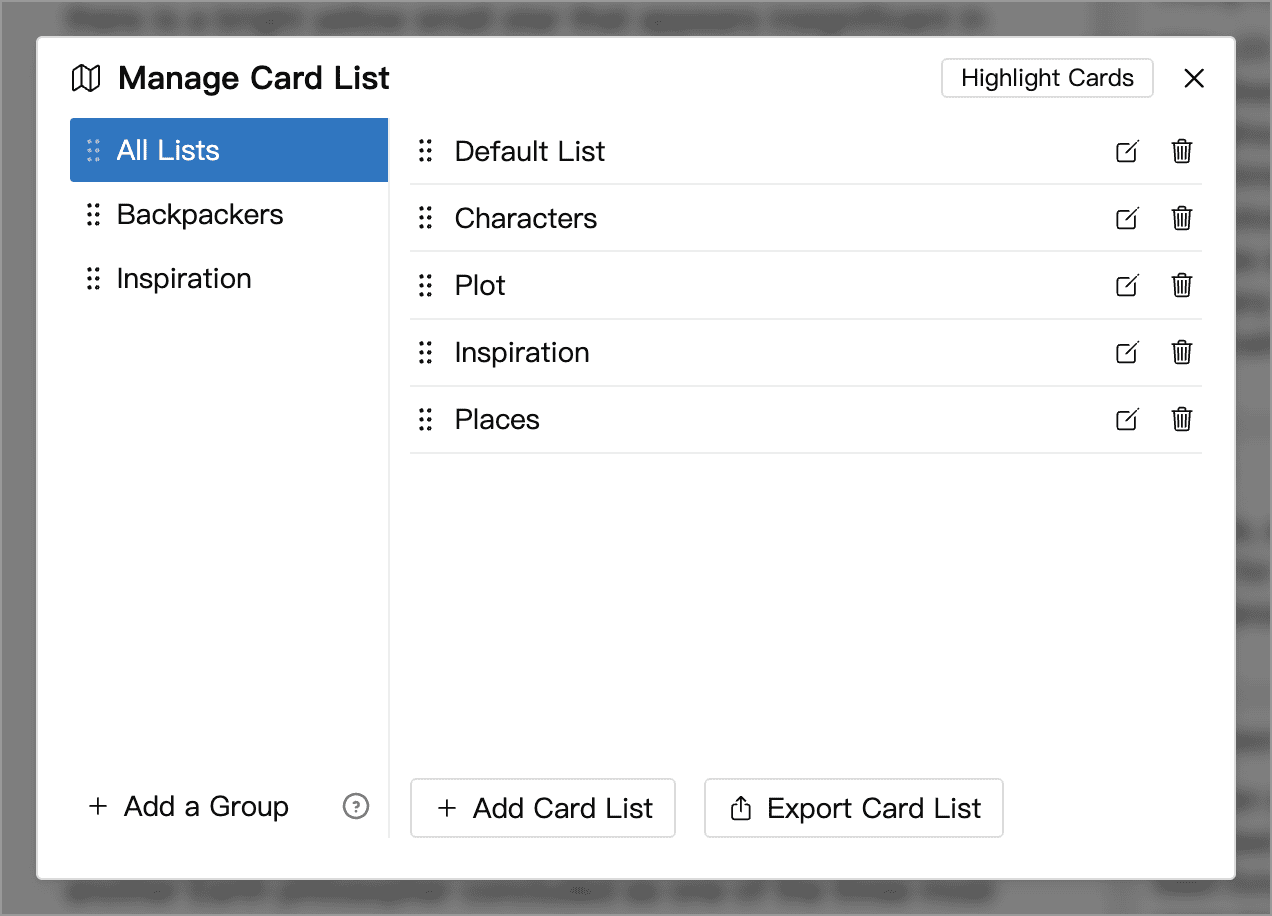
Click the gear button at the top of the Cards panel and choose Manage. In the management window, select a group on the left to manage its lists on the right. Choose All Lists to see every list in the Library.
- Click Add Card List to create a list.
- Click a list’s edit button to rename it.
- Drag the handle beside a list to change its position.
- Click the delete button to remove an empty list. If it still contains cards, move them to another list or to the trashcan first.
Groups
Groups let you switch between sets of reference material. For example, create a group for a novel containing “Characters”, “Places”, and “Plot”. A list can belong to several groups without duplicating its cards.
In the management window, click Add a Group, enter a name, and check the lists to include. You can also rename existing groups, change their members, or reorder them. Deleting a group does not delete its lists or cards.
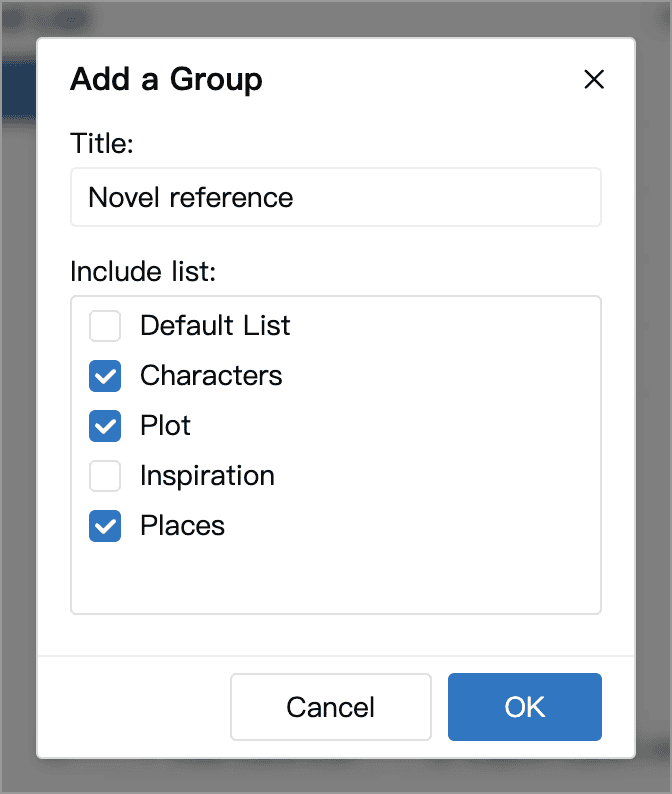
Then choose a group from the Cards panel’s gear menu to show only its lists in the tab bar. Choose All Lists to show every list again.
Display Settings
Click the gear button at the top of the Cards panel to adjust the view, font size, line height, and title visibility.
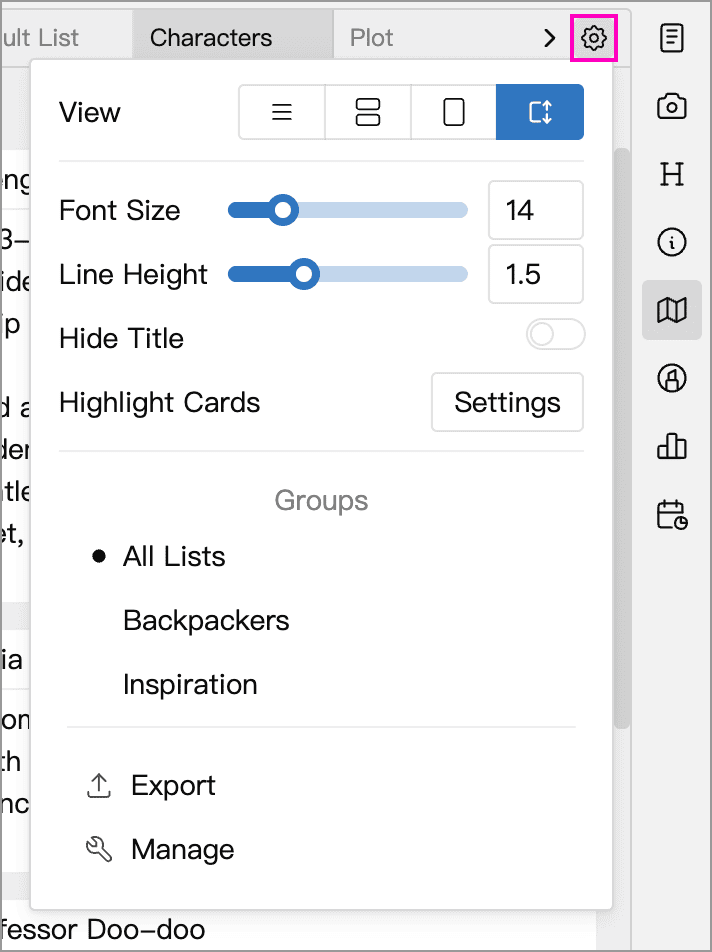
The four View buttons, from left to right, are:
| View | Display |
|---|---|
| Compact | One line per card, showing its title or the first non-empty line of content if it has no title |
| Normal | A fixed-height card showing the title and body, suitable for short notes |
| Loose | A taller card area that shows more content |
| Auto | Each card grows to fit its content, useful for notes of varying lengths |
All four views support drag reordering. Font Size and Line Height control the card text. Hide Title hides the title field, except in lists selected for card highlighting.
Click Settings beside Highlight Cards, enable highlighting, and select the lists to use. Matching card titles in the editor will be highlighted; click one to view the card. See Highlight Cards.
Enable spellcheck in Settings → Advanced → Document Editing. This setting applies to the editor, memos, and cards.
Export Cards
Choose Export from the gear menu, or click Export Card List in the management window. Check the lists to export, then choose text or Word format.
The export window shows lists from the current group. If a list you need is missing, switch to All Lists before opening the export window.