
One-Click Formatting
One-click formatting uses preset rules to tidy spaces, blank lines, punctuation and paragraph indentation. Use it to clean up pasted text or apply consistent text formatting throughout a work.
Normal formatting changes the body text, not the document title. Format and Copy on the Fly only formats the clipboard copy and leaves the original unchanged. For fonts, sizes, line spacing and backgrounds, see Themes and Editor Styles.
Using one-click formatting
In the editor, press F9 or Ctrl + G (⌘ + G on macOS) to apply the current scheme. The editor in floating windows supports the same shortcuts.
- With text selected: format only the selection.
- Without a text selection: format the entire body text.
You can also click One-Click Formatting in the editor status bar, or choose it from the body text's context menu. To undo formatting performed in the editor, press Ctrl + Z (⌘ + Z on macOS).
Choosing and using a scheme
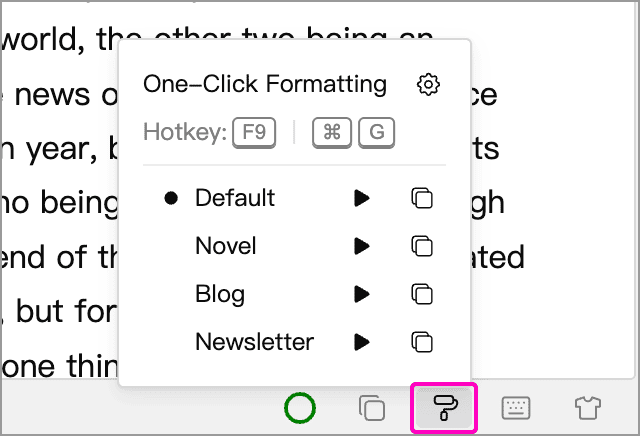
Hover over the one-click formatting button in the status bar to open the scheme panel:
| Action | Result |
|---|---|
| Click a scheme name | Select it as the current scheme without formatting; a dot marks the current choice |
| Click the play button beside a scheme | Apply that scheme to the selection or entire body text, without changing the current scheme selection |
| Click the copy button beside a scheme | Format and copy on the fly, without changing the original document |
| Click the gear beside the panel title | Open the formatting settings to manage schemes and rules |
Formatting multiple documents
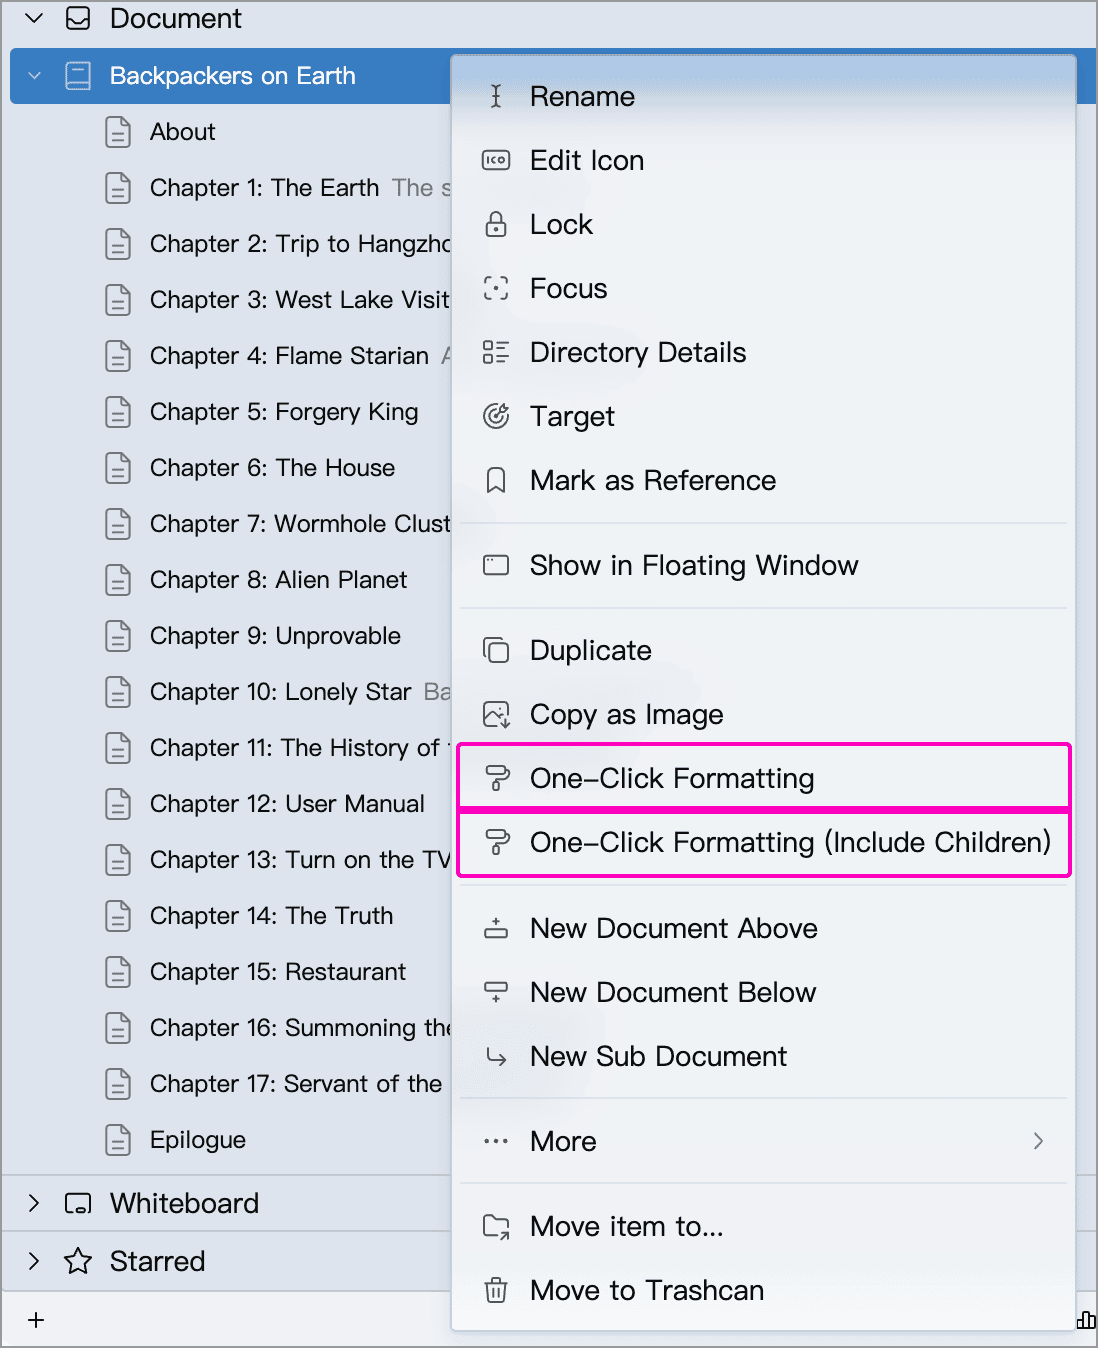
Right-click a document in the document tree and choose One-Click Formatting to format it, or One-Click Formatting (Include Children) to format it and all its descendants.
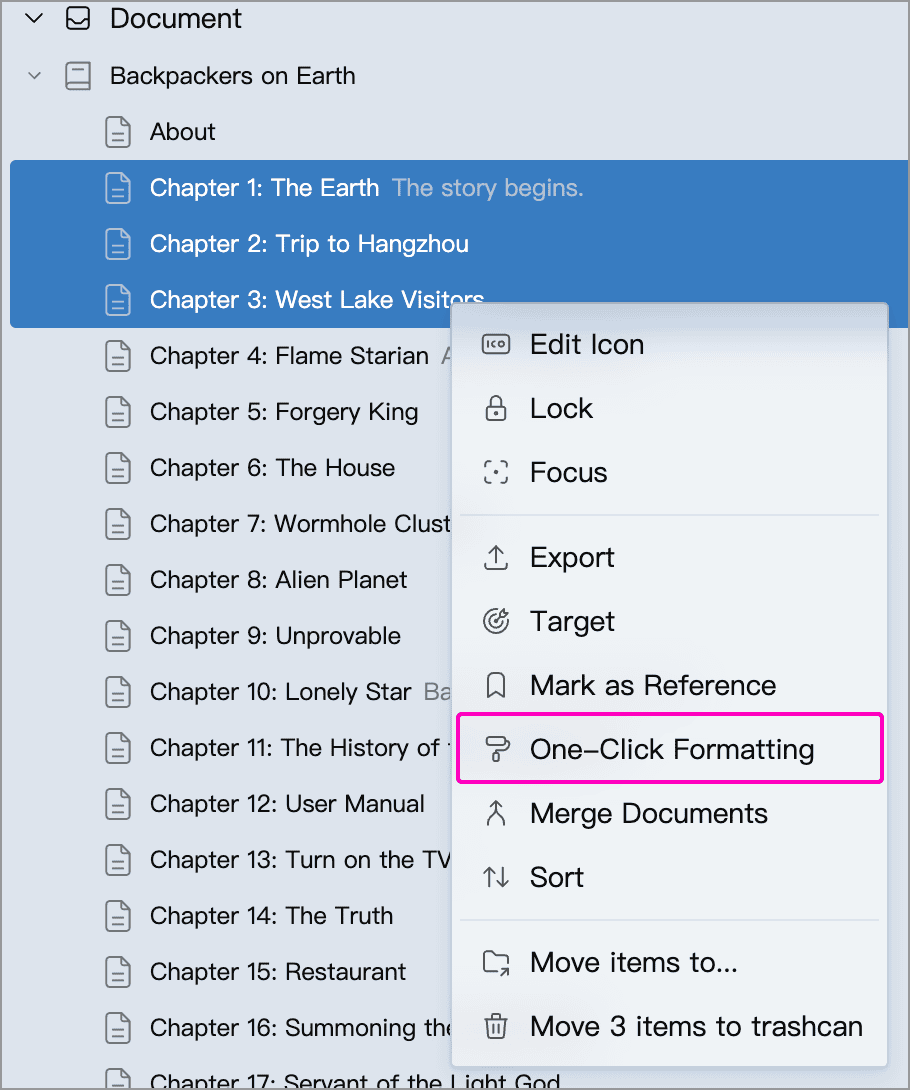
To format a specific set of documents, select them in the document tree, right-click and choose One-Click Formatting.
These operations use the current scheme. Formatting multiple selected documents or using One-Click Formatting (Include Children) processes each document's entire body, regardless of any text selection in the editor. The regular One-Click Formatting command for a single document works like the editor command: if text is selected, only that selection is formatted. Try the scheme on one document before applying it to other chapters.
Format and copy on the fly
The copy button beside each scheme is Format and Copy on the Fly. It formats the current document's entire body text with that scheme and copies the result to the clipboard without changing the document. It copies the full formatted body even when only part of the text is selected in the editor.
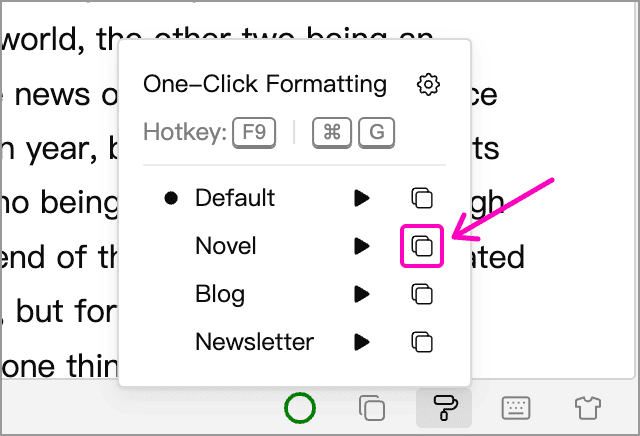
This is useful when publishing an article elsewhere while keeping the original in WonderPen. The result uses your current plain text, rich text or Markdown copy format; see Copy and Paste for the settings.
To change the document before copying, right-click its title at the top of the editor and choose One-Click Formatting & Copy Content or One-Click Formatting & Copy Title and Content. These commands apply normal formatting, then copy the full body text; the latter also includes the title. Clear the text selection first if you want to format the entire body.
Formatting schemes
Each formatting scheme stores a set of rules and their execution order. Create schemes for different purposes, then switch between them in the status bar panel.
Creating and editing schemes
Open Settings → Advanced → One-Click Formatting, or click the gear in the status bar panel:
Click Manage beside the Scheme drop-down to open the scheme list.
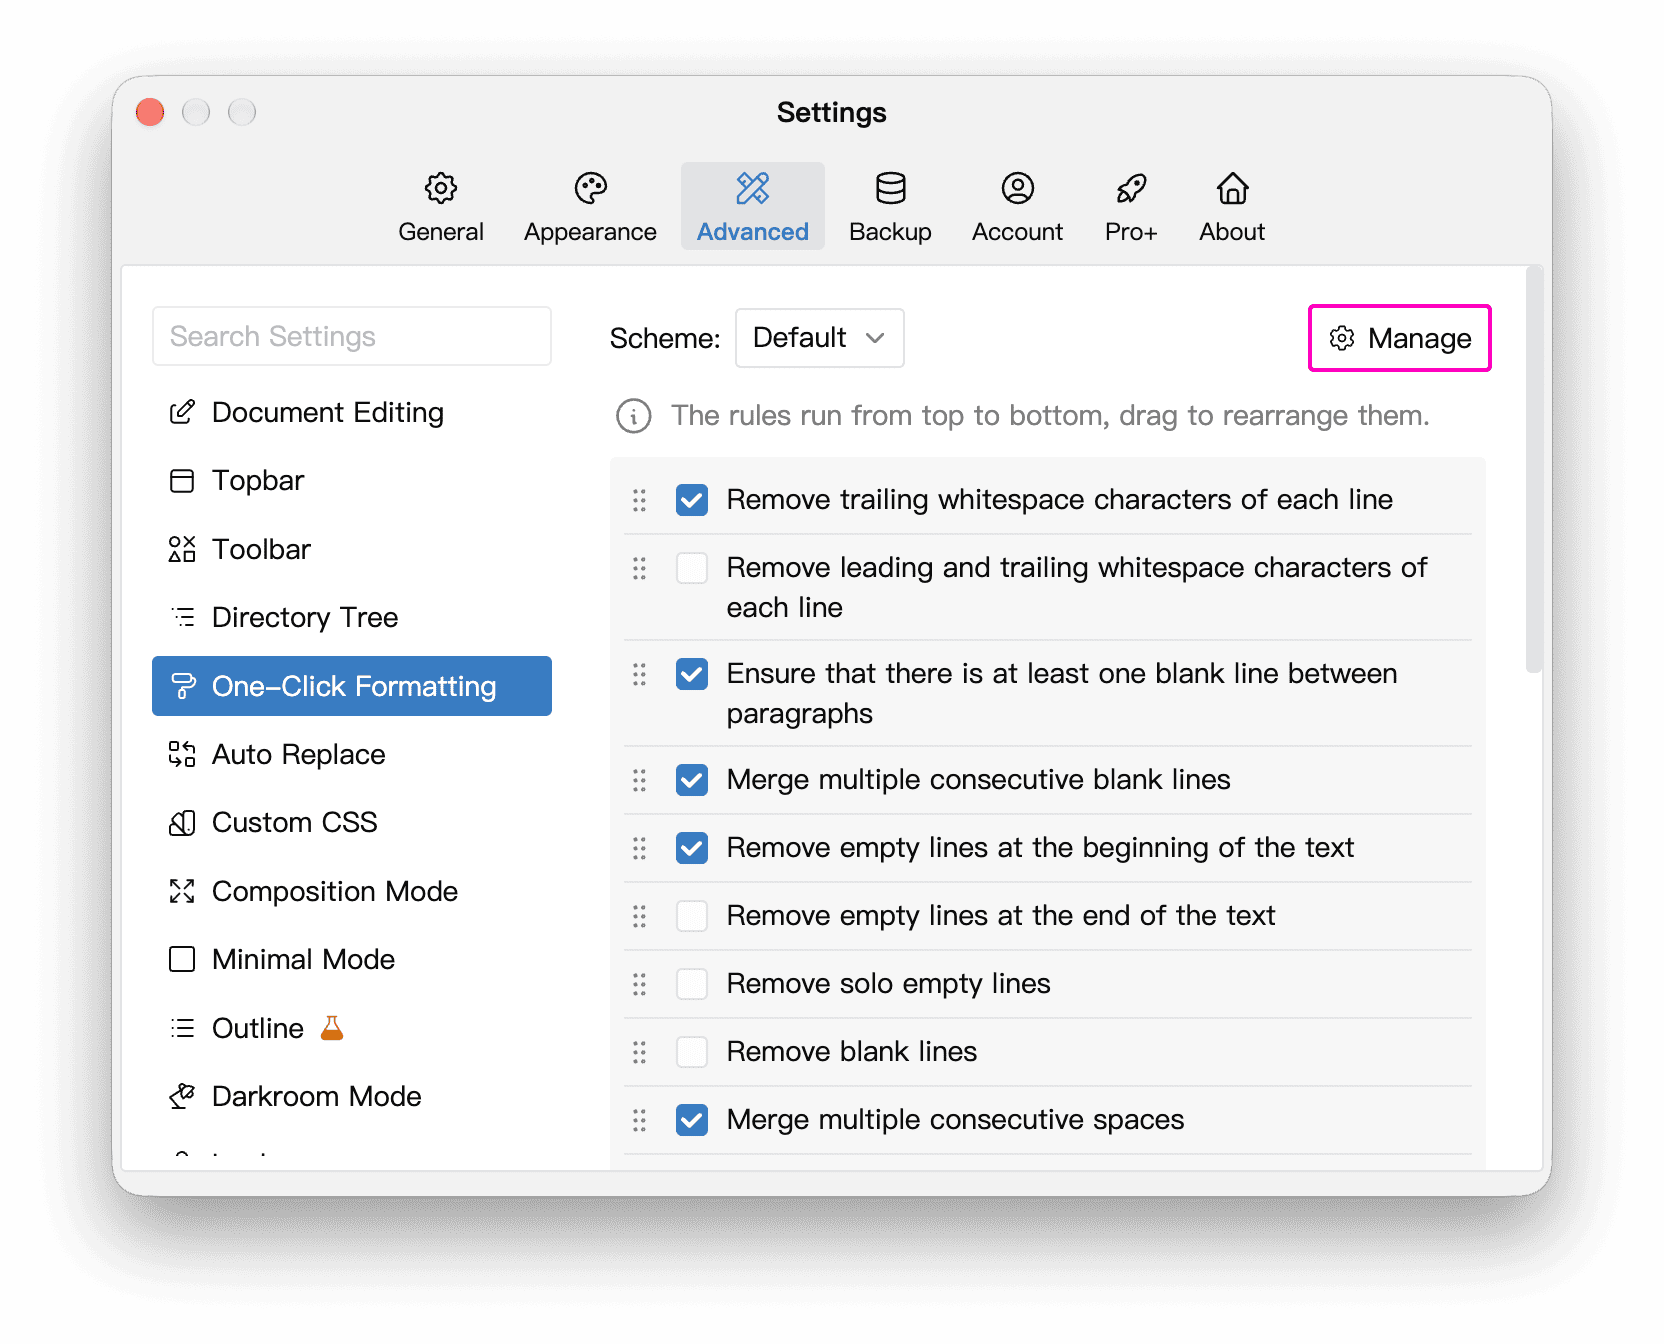
Click Add, enter a name such as “Novel”, “Blog” or “Newsletter”, and press Enter to confirm. To change an existing scheme, click its edit button to rename it, drag the handle on the left to reorder it, or click its delete button to remove it.
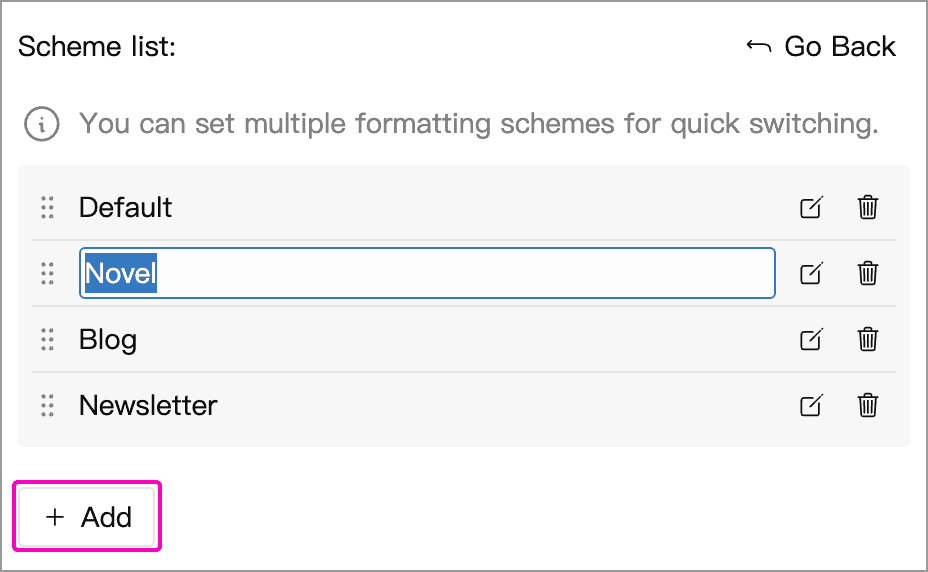
Click Go Back, choose the scheme in the Scheme drop-down, then select its rules and drag the handles on the left to change their execution order.
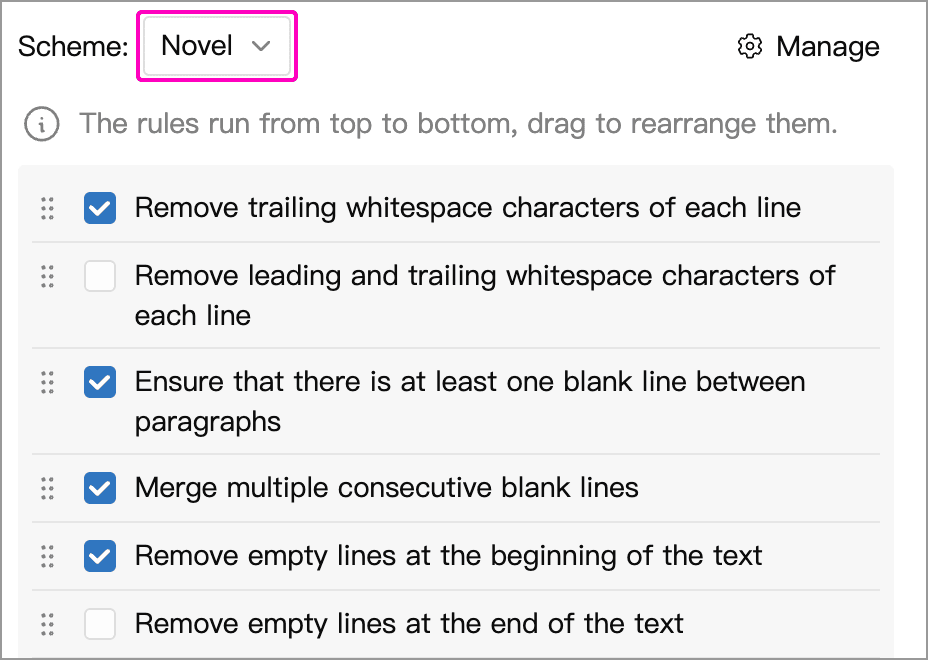
Changes to scheme names, checked rules and their order are saved automatically. If Add is disabled and shows a lock, check the features available to your account. See the plan comparison and the app for current details.
New schemes start with the app's default rules, rather than copying the current scheme's custom rules. Their names do not automatically enable different rules. Here are some ideas for customizing them:
| Custom scheme | Suggested setup |
|---|---|
| Novel | Tidy extra spaces, blank lines and quotation marks; for Chinese fiction, you can enable Indent paragraph by 2 spaces |
| Blog | Remove leading and trailing whitespace, disable paragraph indentation and keep blank lines between paragraphs; add spacing between Chinese and English where needed |
| Newsletter | Follow the publication's requirements for indentation and blank lines, and remove extra blank lines at the beginning and end |
These three schemes in the screenshot are custom examples, not built-in presets. Their names identify their purpose; their checked rules and execution order determine the result.
Using schemes across Libraries
Libraries on the same computer share scheme definitions, but the current choice is remembered per Library:
- Switching schemes in a Library window's status bar panel, or in the settings opened from its gear, changes only that Library's selection.
- Switching schemes in the separate Settings window changes the default choice for Libraries that have not selected their own scheme.
- Editing a scheme's rules affects future formatting in every Library on that computer that uses it. Existing content is not reformatted automatically.
Formatting rules
In the formatting settings, choose a scheme before adjusting its rules.
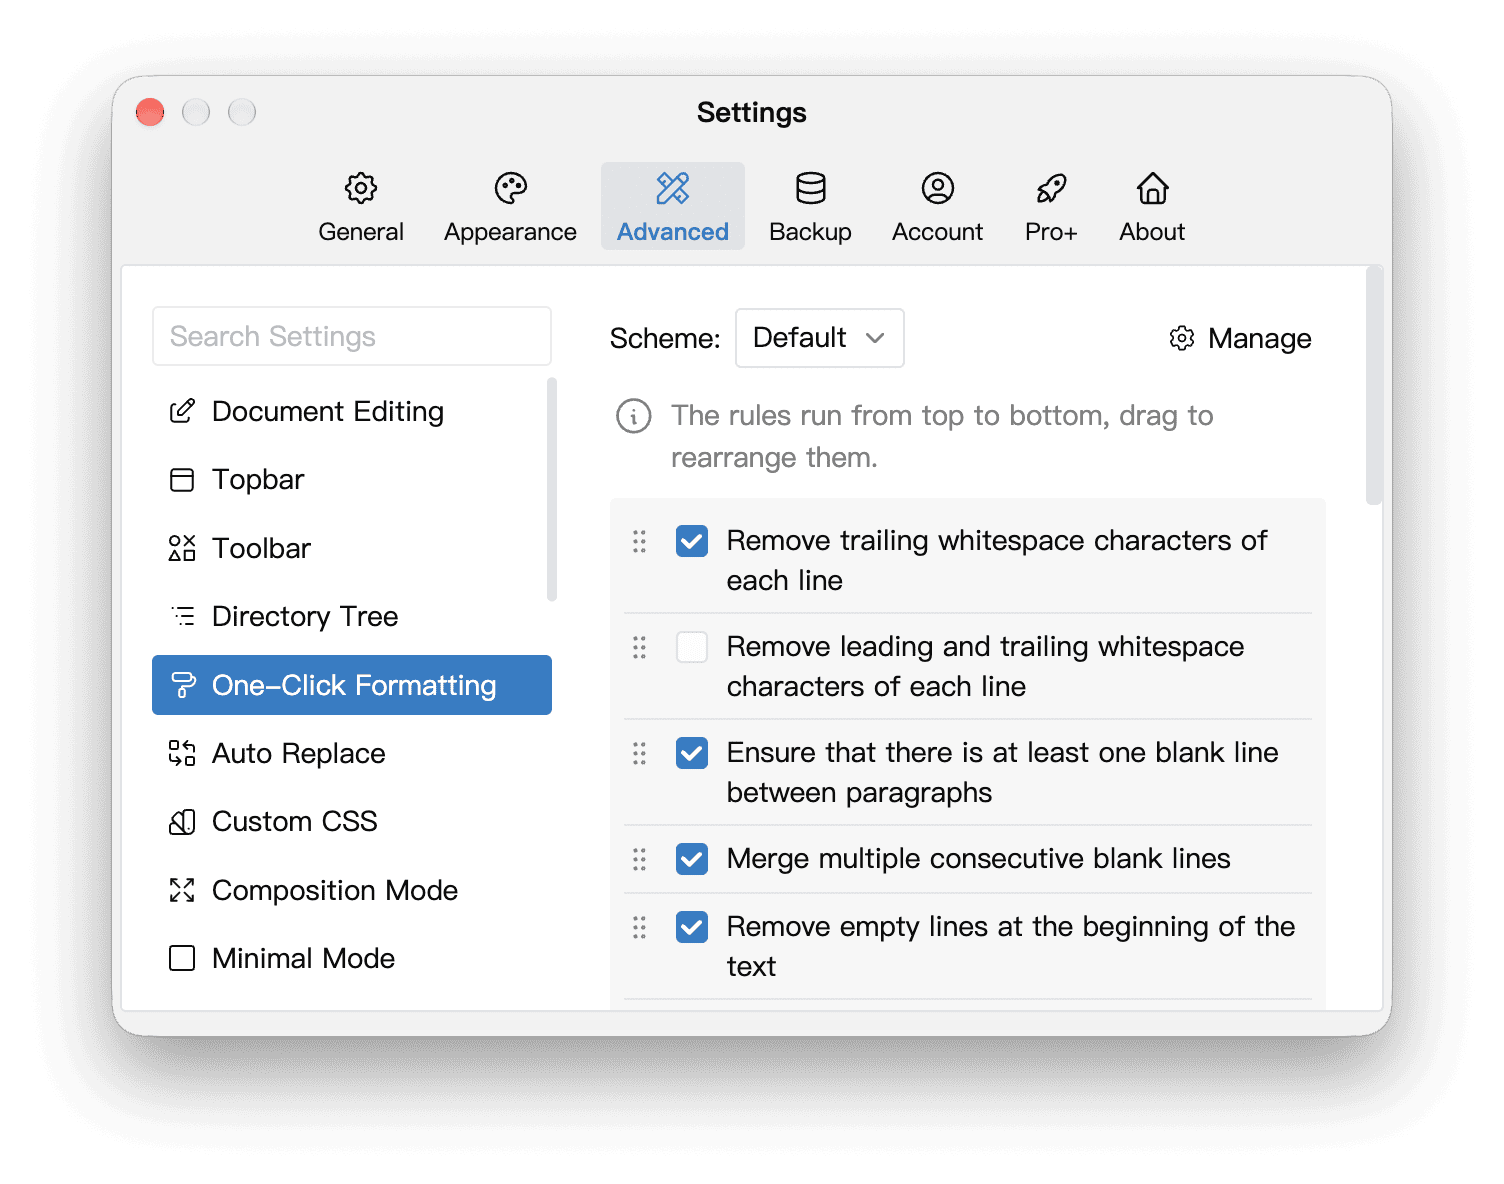
Only checked rules take effect. The rules run from top to bottom, and you can drag them to change the order. Restore to Default resets the current scheme’s checked rules and their order, keeping its name and all other schemes.
The tables group the available rules by category. A ✓ marks a rule enabled by default. Rules run in the order shown in the settings, not the category order below.
Whitespace and blank lines
| Rule | Default |
|---|---|
| Remove trailing whitespace characters of each line | ✓ |
| Remove leading and trailing whitespace characters of each line | |
| Ensure that there is at least one blank line between paragraphs | ✓ |
| Merge multiple consecutive blank lines | ✓ |
| Remove empty lines at the beginning of the text | ✓ |
| Remove empty lines at the end of the text | |
| Remove solo empty lines (keep runs of two or more) | |
| Remove blank lines | |
| Merge multiple consecutive spaces | ✓ |
| Remove all spaces |
Mixed Chinese and English
| Rule | Default |
|---|---|
| Add a space between Chinese and English | |
| Remove spaces between Chinese and English | |
| Remove spaces between full-width characters |
Punctuation
| Rule | Default |
|---|---|
Replace the half-width comma with a full-width comma (, → ,) | |
Replace the half-width period with a full-width period (. → 。) | |
Replace the half-width quotation mark with a full-width quotation mark ("" → “”) | |
Quote correction (”aaa“ → “aaa”) | |
Curly Quotes to Corner Quotes (“” → 「」, ‘’ → 『』) | |
Corner Quotes to Curly Quotes (「」 → “”, 『』 → ‘’) | |
Ellipsis Normalizer (... → …, ...... → ……) |
Indentation
| Rule | Default |
|---|---|
| Indent paragraph by 2 spaces | ✓ |
Rule effects and execution order
- Indent paragraph adds two full-width spaces (
- Replace the half-width comma / period with a full-width one replaces every half-width comma or period in the text, including those in English sentences and in numbers such as
3.14, so it is best suited to text written entirely in Chinese. - Usually, choose just one of two opposing rules, such as adding or removing spaces between Chinese and English, or keeping or removing blank lines between paragraphs.
- Later rules can change earlier results. For example, removing leading and trailing whitespace after adding paragraph indents removes those indents. To keep indentation, place its rule after the whitespace cleanup rules.
TIP
One-click formatting tidies existing text. To indent new paragraphs as you type, enable Automatically add two spaces at the beginning of a new paragraph in Settings → Advanced → Document Editing.
Mobile
One-click formatting is also available on mobile: tap the one-click formatting button in the editor's Quick Actions Bar, and adjust the rules in Editor Settings.