
Split View
Split view lets you see two items in the same main window, such as a chapter you are writing and an earlier chapter, character profile, or whiteboard. You can also show different parts of the same document in the two panes.
Split view changes the workspace layout without dividing the document’s content. To turn one document into two, use document splitting. You can use split view without enabling tabs.
Enable Split View
First open the document or whiteboard you want to view. With tabs off, click the Split Editor button in the upper-right corner of the editor toolbar to create two panes.

Both panes initially show the current content. Click inside either pane, then select another document from the tree to compare them:
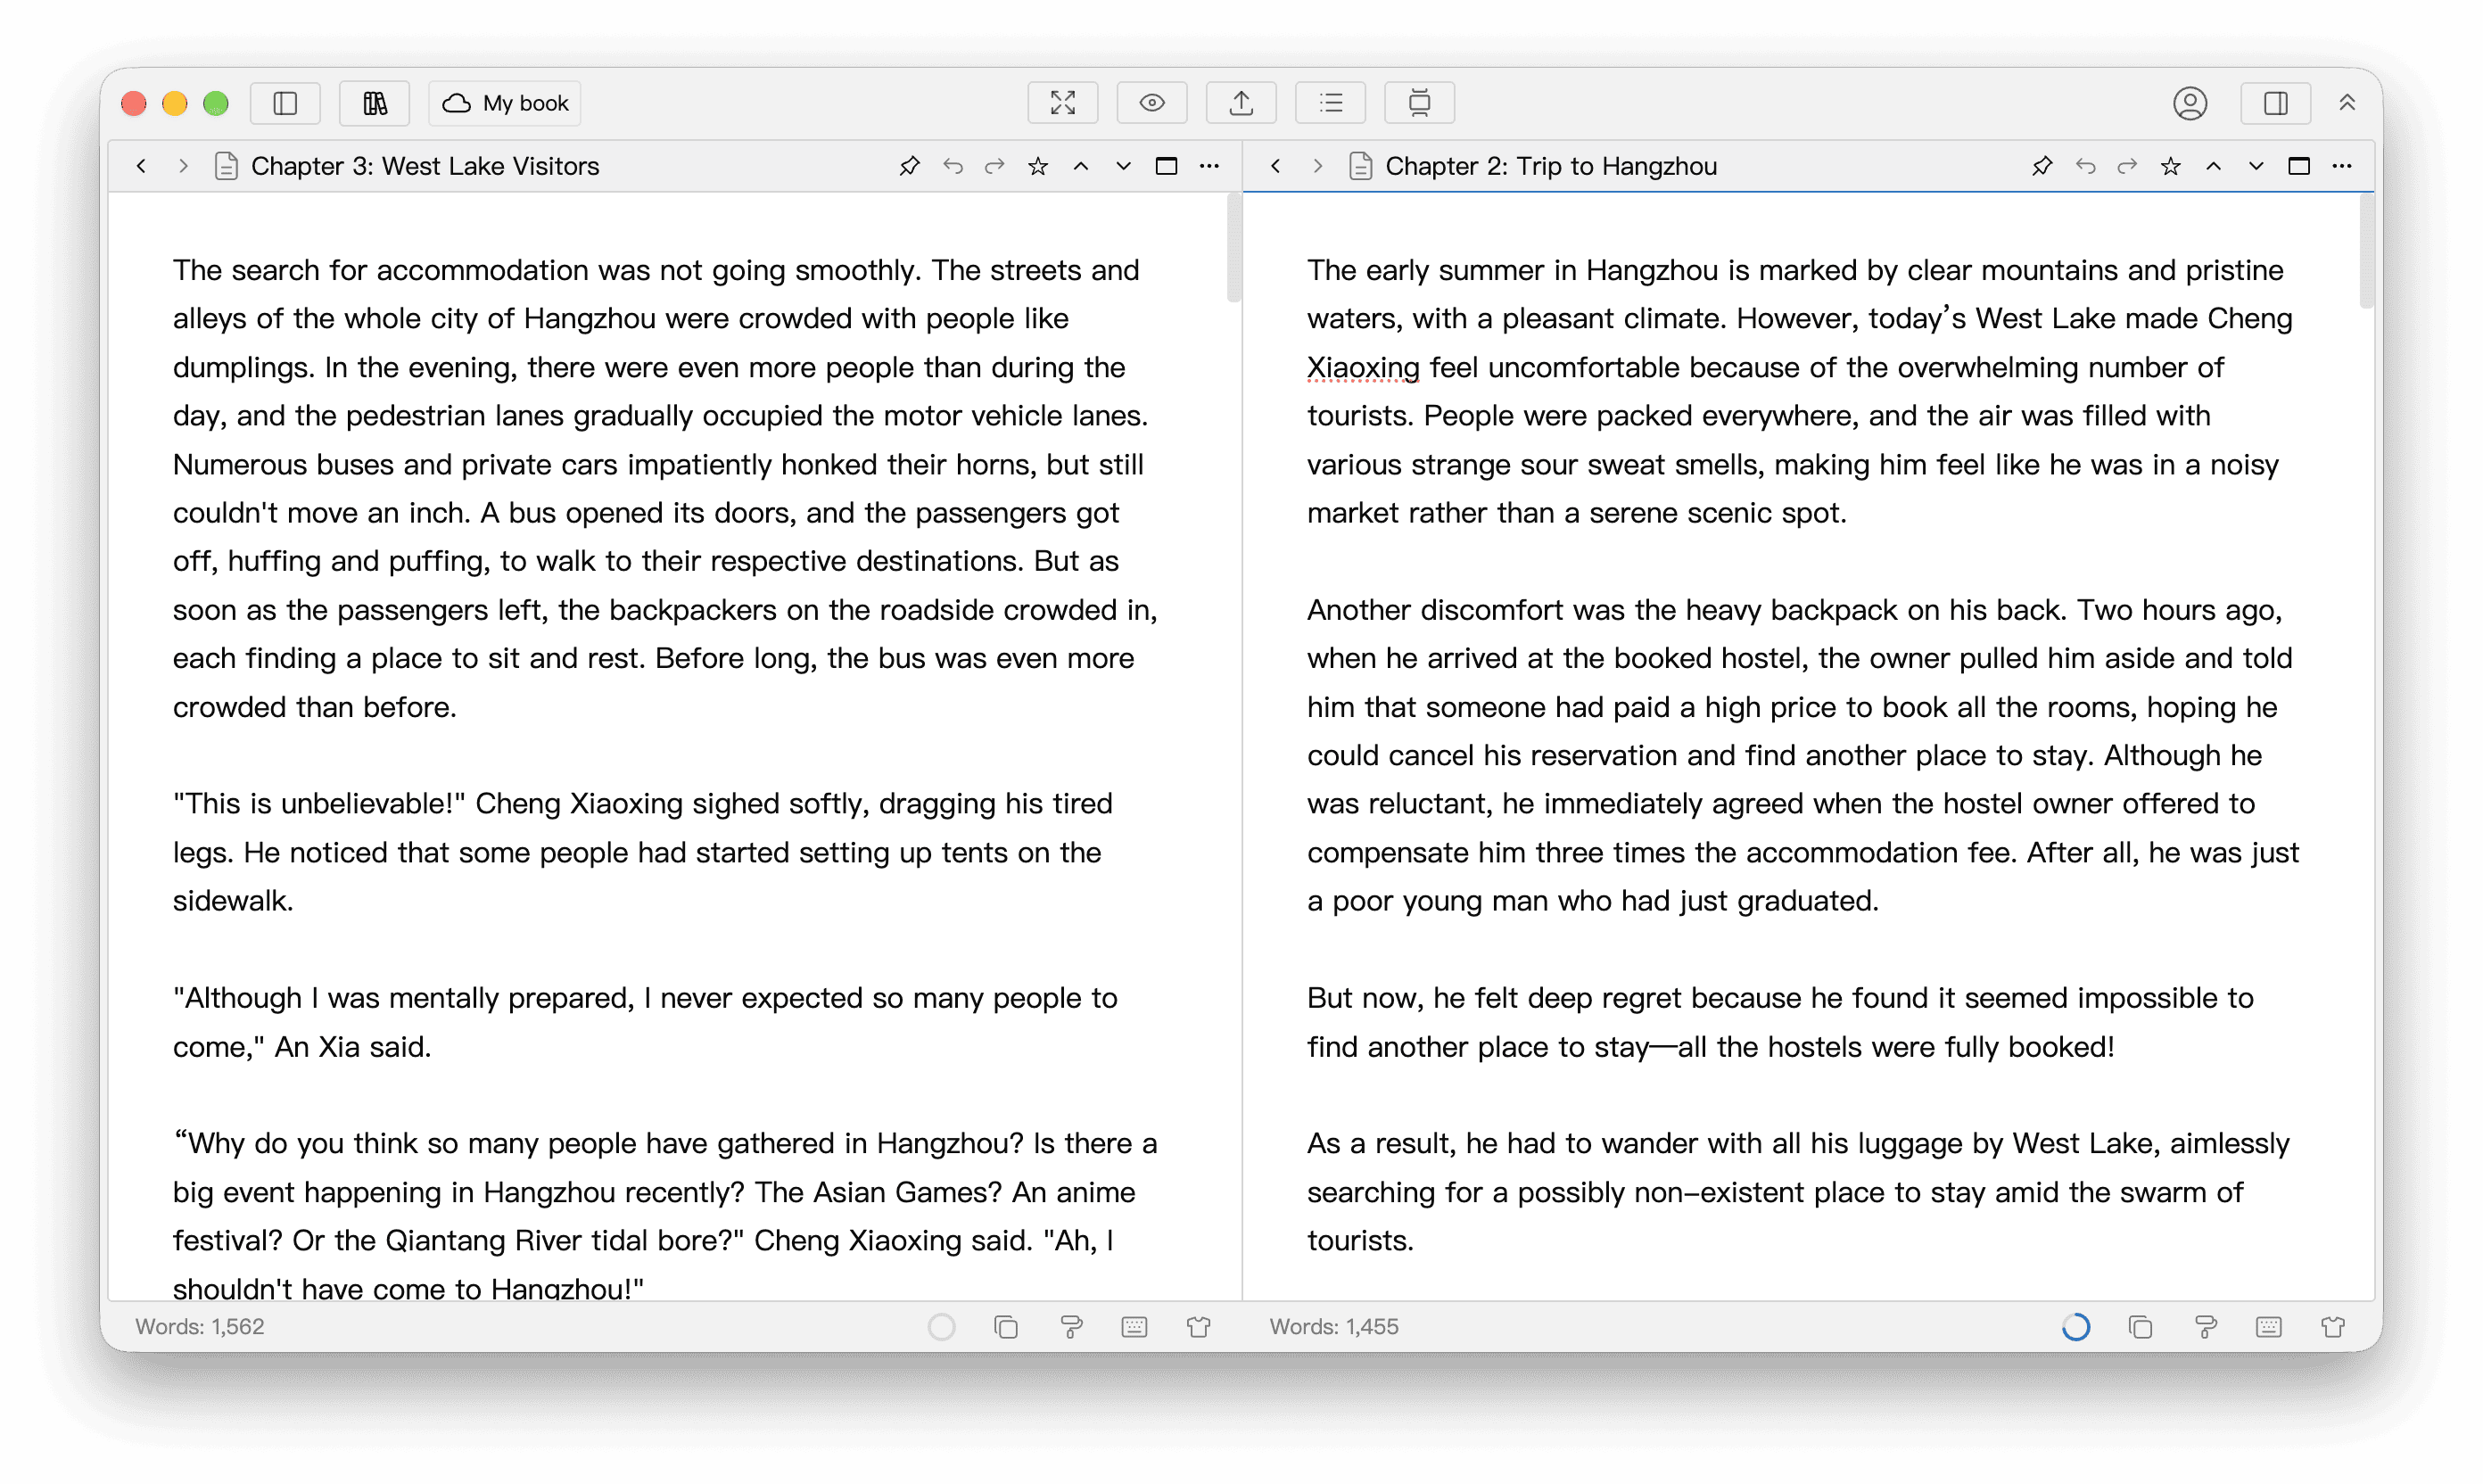
You can also press Shift + Ctrl + \ (Shift + ⌘ + \ on macOS).
With tabs enabled, the tab bar does not show a split button. Use the same shortcut, or choose Vertical Split or Horizontal Split from the ellipsis menu on the right of the tab bar.
Direction and Size
Choose the split direction from the ellipsis menu on the right of the editor toolbar or tab bar:
- Vertical Split: place the panes side by side. This is the initial default.
- Horizontal Split: stack the panes top and bottom, which suits narrower screens.
WonderPen remembers the direction you choose and uses it the next time you enable split view with the split button or shortcut. Once split view is open, the menu item for the current direction changes to Restore Split, which returns to a single pane. The other item switches direction. For example, a side-by-side split shows Restore Split and Horizontal Split.
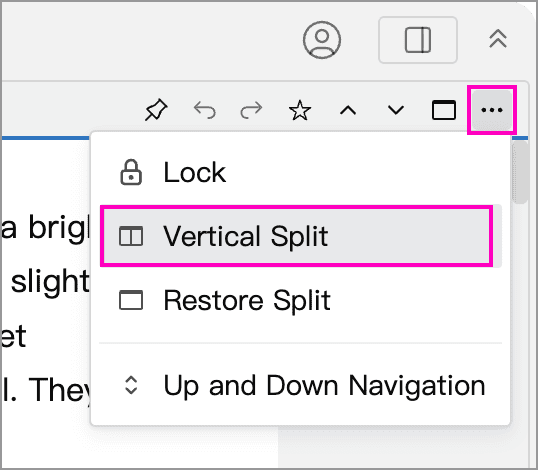
To change from a top-and-bottom layout to a side-by-side layout, open the ellipsis menu on the right of either pane’s toolbar and choose Vertical Split:
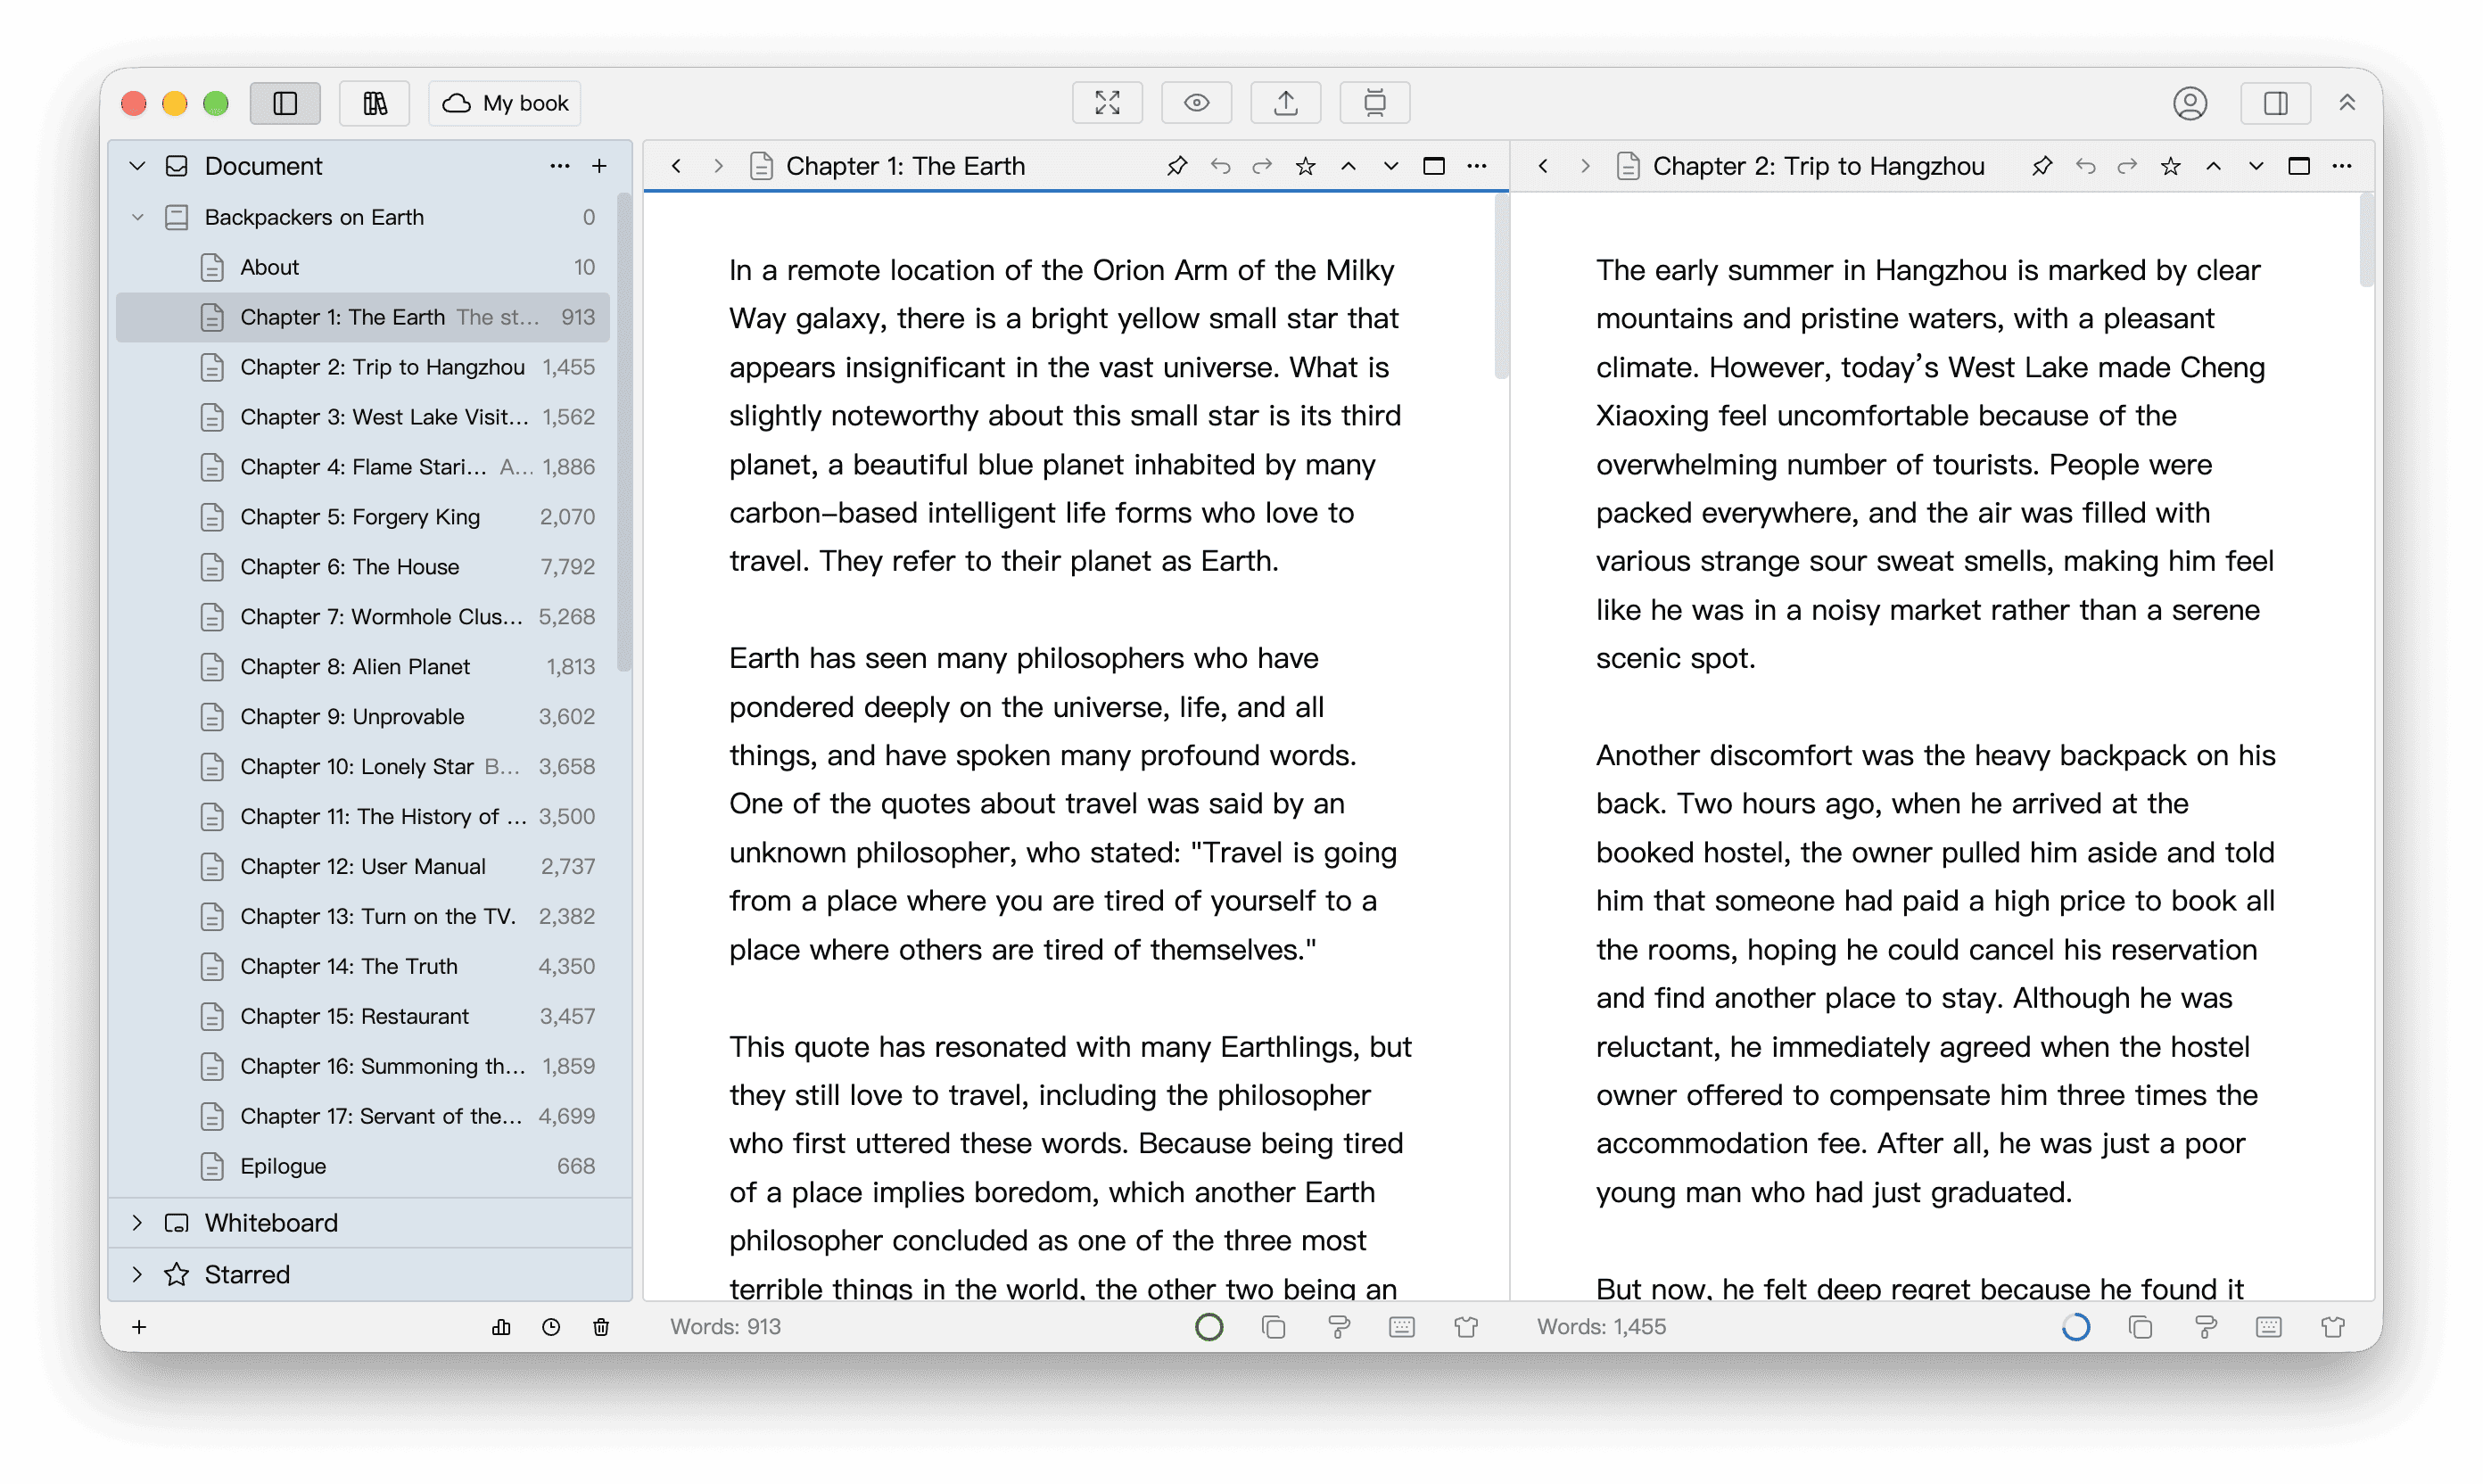
The panes now appear side by side, keeping their current content:
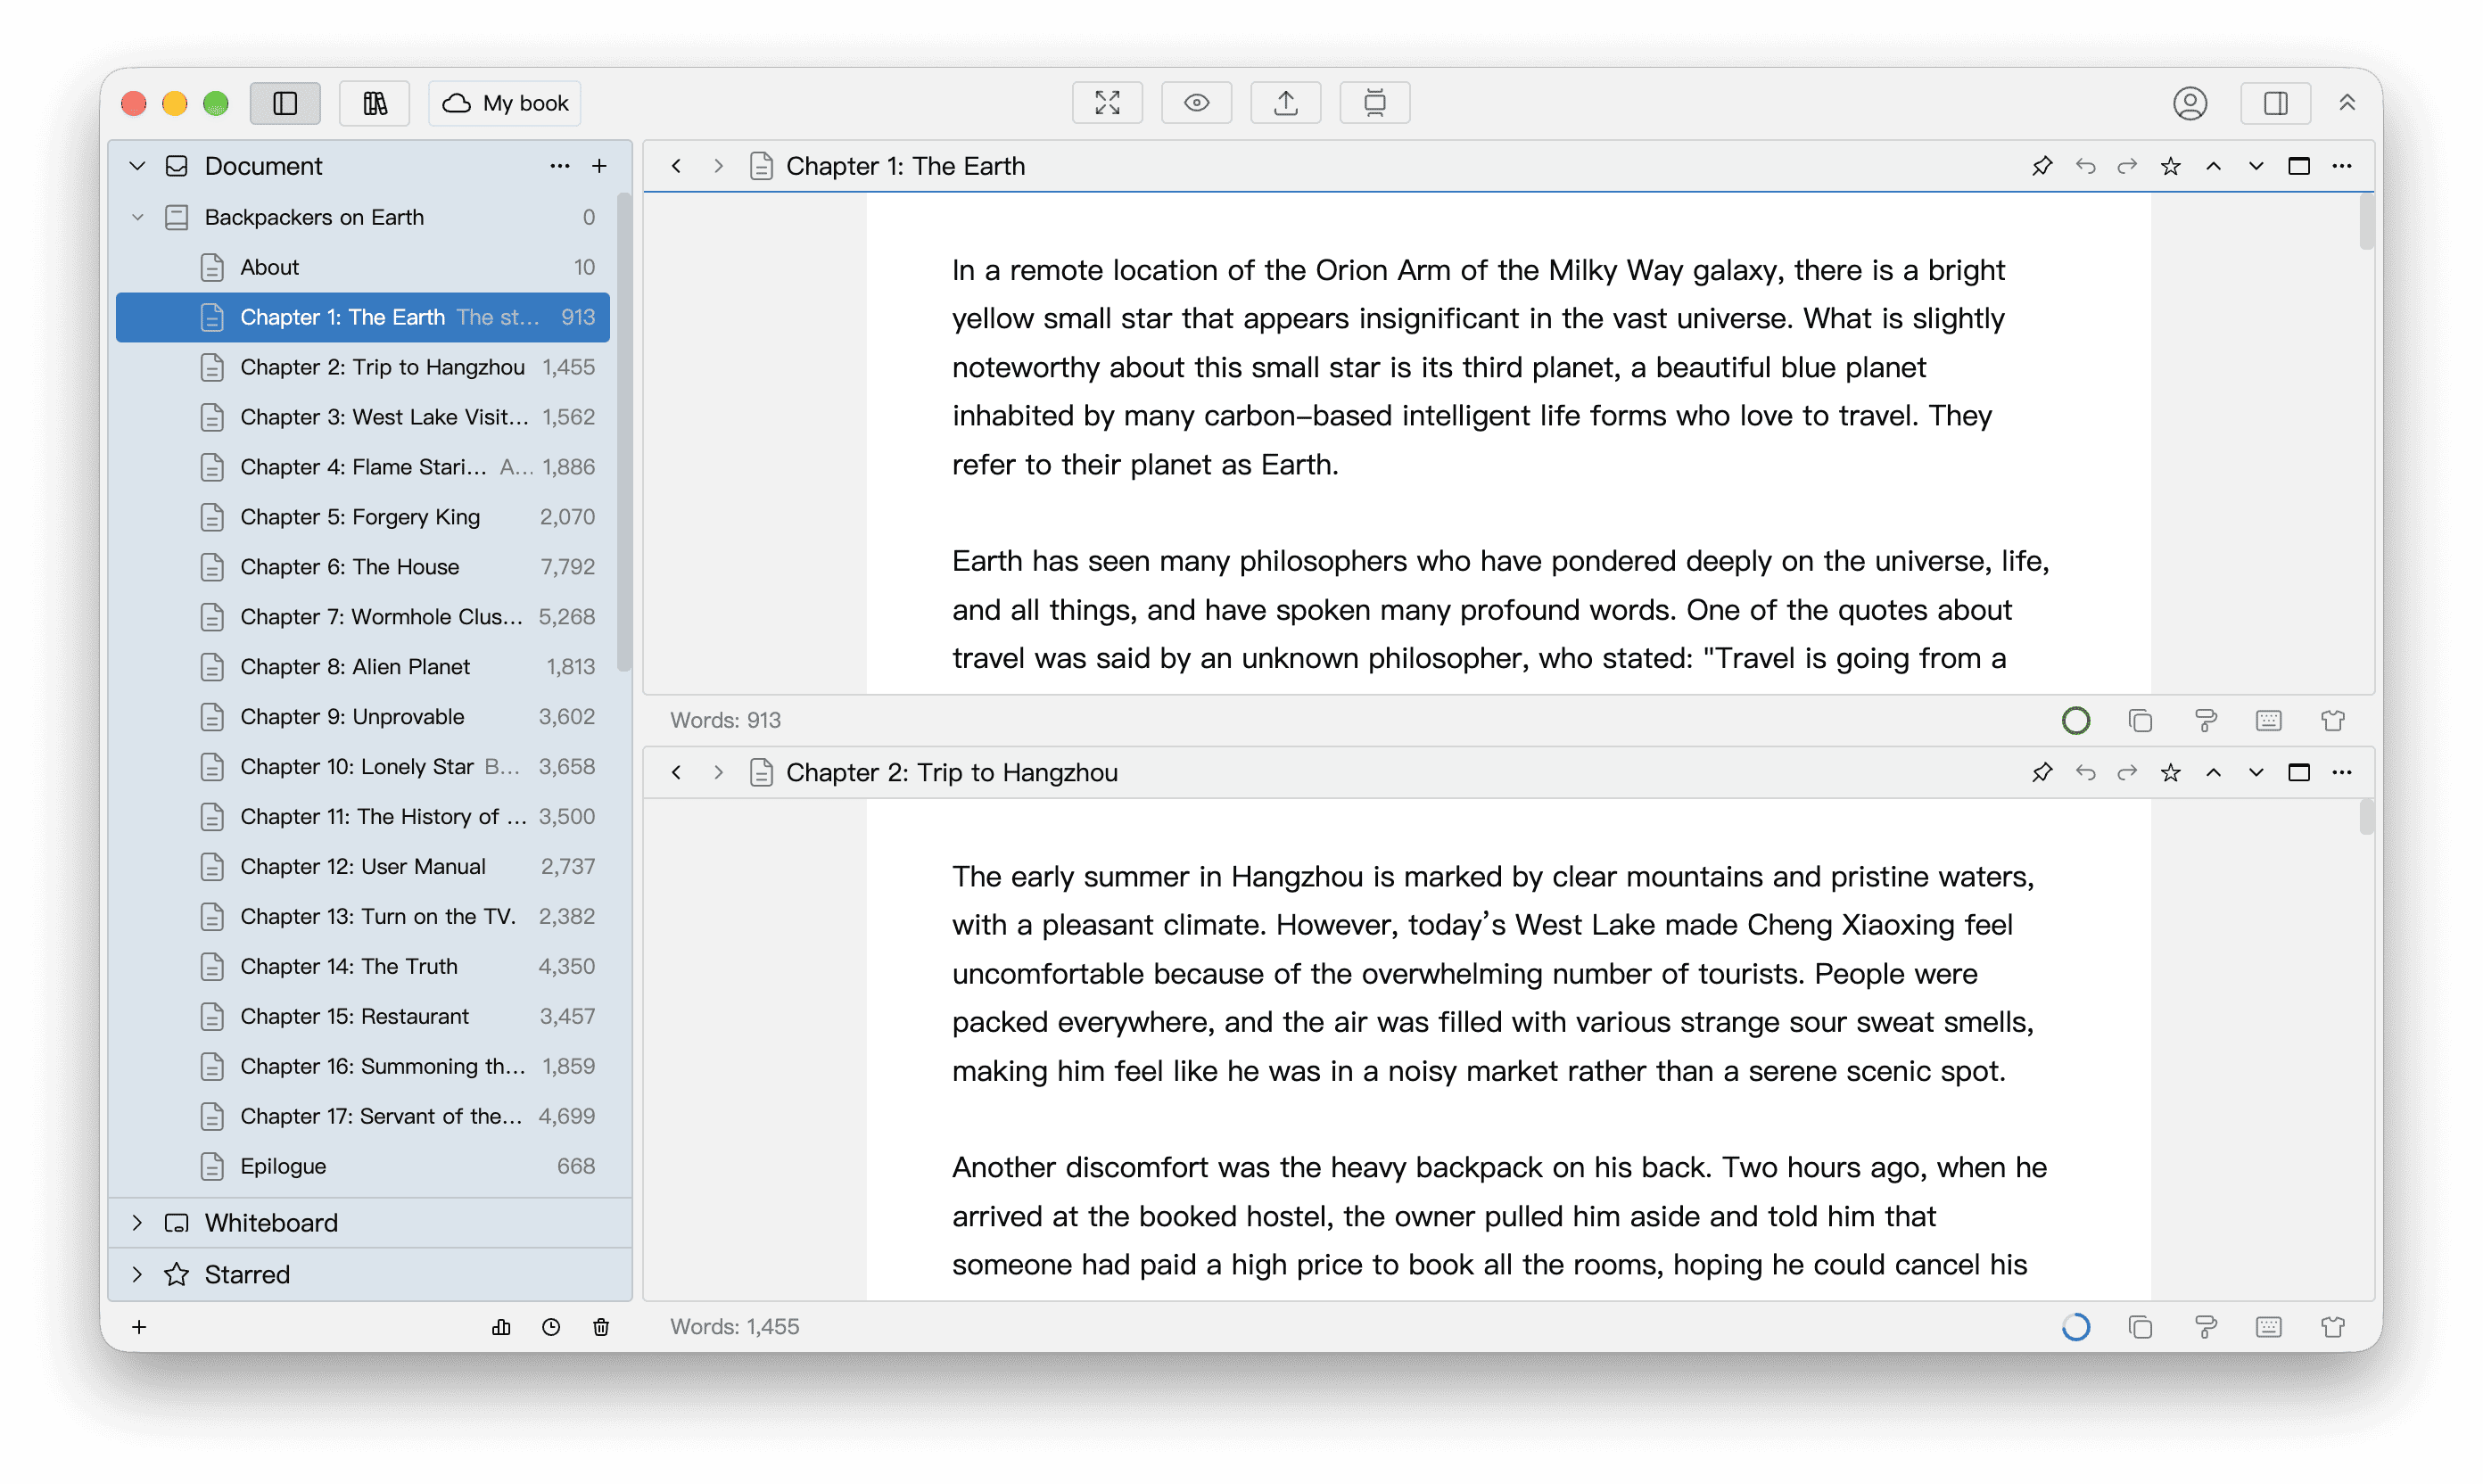
Choose Horizontal Split to stack the panes top and bottom, keeping each pane’s current content:
Drag the divider to adjust how much space each pane occupies. Double-click the divider to make the panes equal in size again.
Open Content in Each Pane
Click inside a pane’s editing area to make it the active pane. When neither pane is pinned, selecting an item in the tree opens it in the active pane. For example, to refer to a character profile while writing a chapter:
- Click the left pane (the top pane in a horizontal split), then open the character profile from the tree.
- Click the other pane, then open the chapter you want to write.
- To open something else, first click the pane you want to use, then select another document or whiteboard. The other pane keeps its current content.
The panes scroll independently, so you can show different parts of the same document in the two panes. Editing it in either pane updates the same document, and the changes appear in the other pane too; no copy is created. Continuous view also works with split view.
Keep a Document in One Pane
With tabs off, a pin button appears in the editor toolbar after splitting. Open a reference document in one pane, then click the pin button labeled Always show current document:

The pin icon becomes solid, and that pane no longer follows selections in the tree. Selecting other content opens it in the unpinned pane. Pinning only affects document switching; it does not lock the content. You can still scroll and edit in the pinned pane.
Only one pane can be pinned at a time. Click the solid pin again to unpin it; you can then pin the other pane.
This keeps content visible in a pane, unlike pinning a tab. A pinned tab stays available in the tab bar but does not necessarily remain visible in a pane.
Use Tabs in Split View
With tabs enabled, each pane has its own tab bar. You can switch documents independently or move a tab to the other pane by dragging it onto that pane’s tab bar. The tab limit applies separately to each pane and counts only unpinned tabs; see Tab Limit.
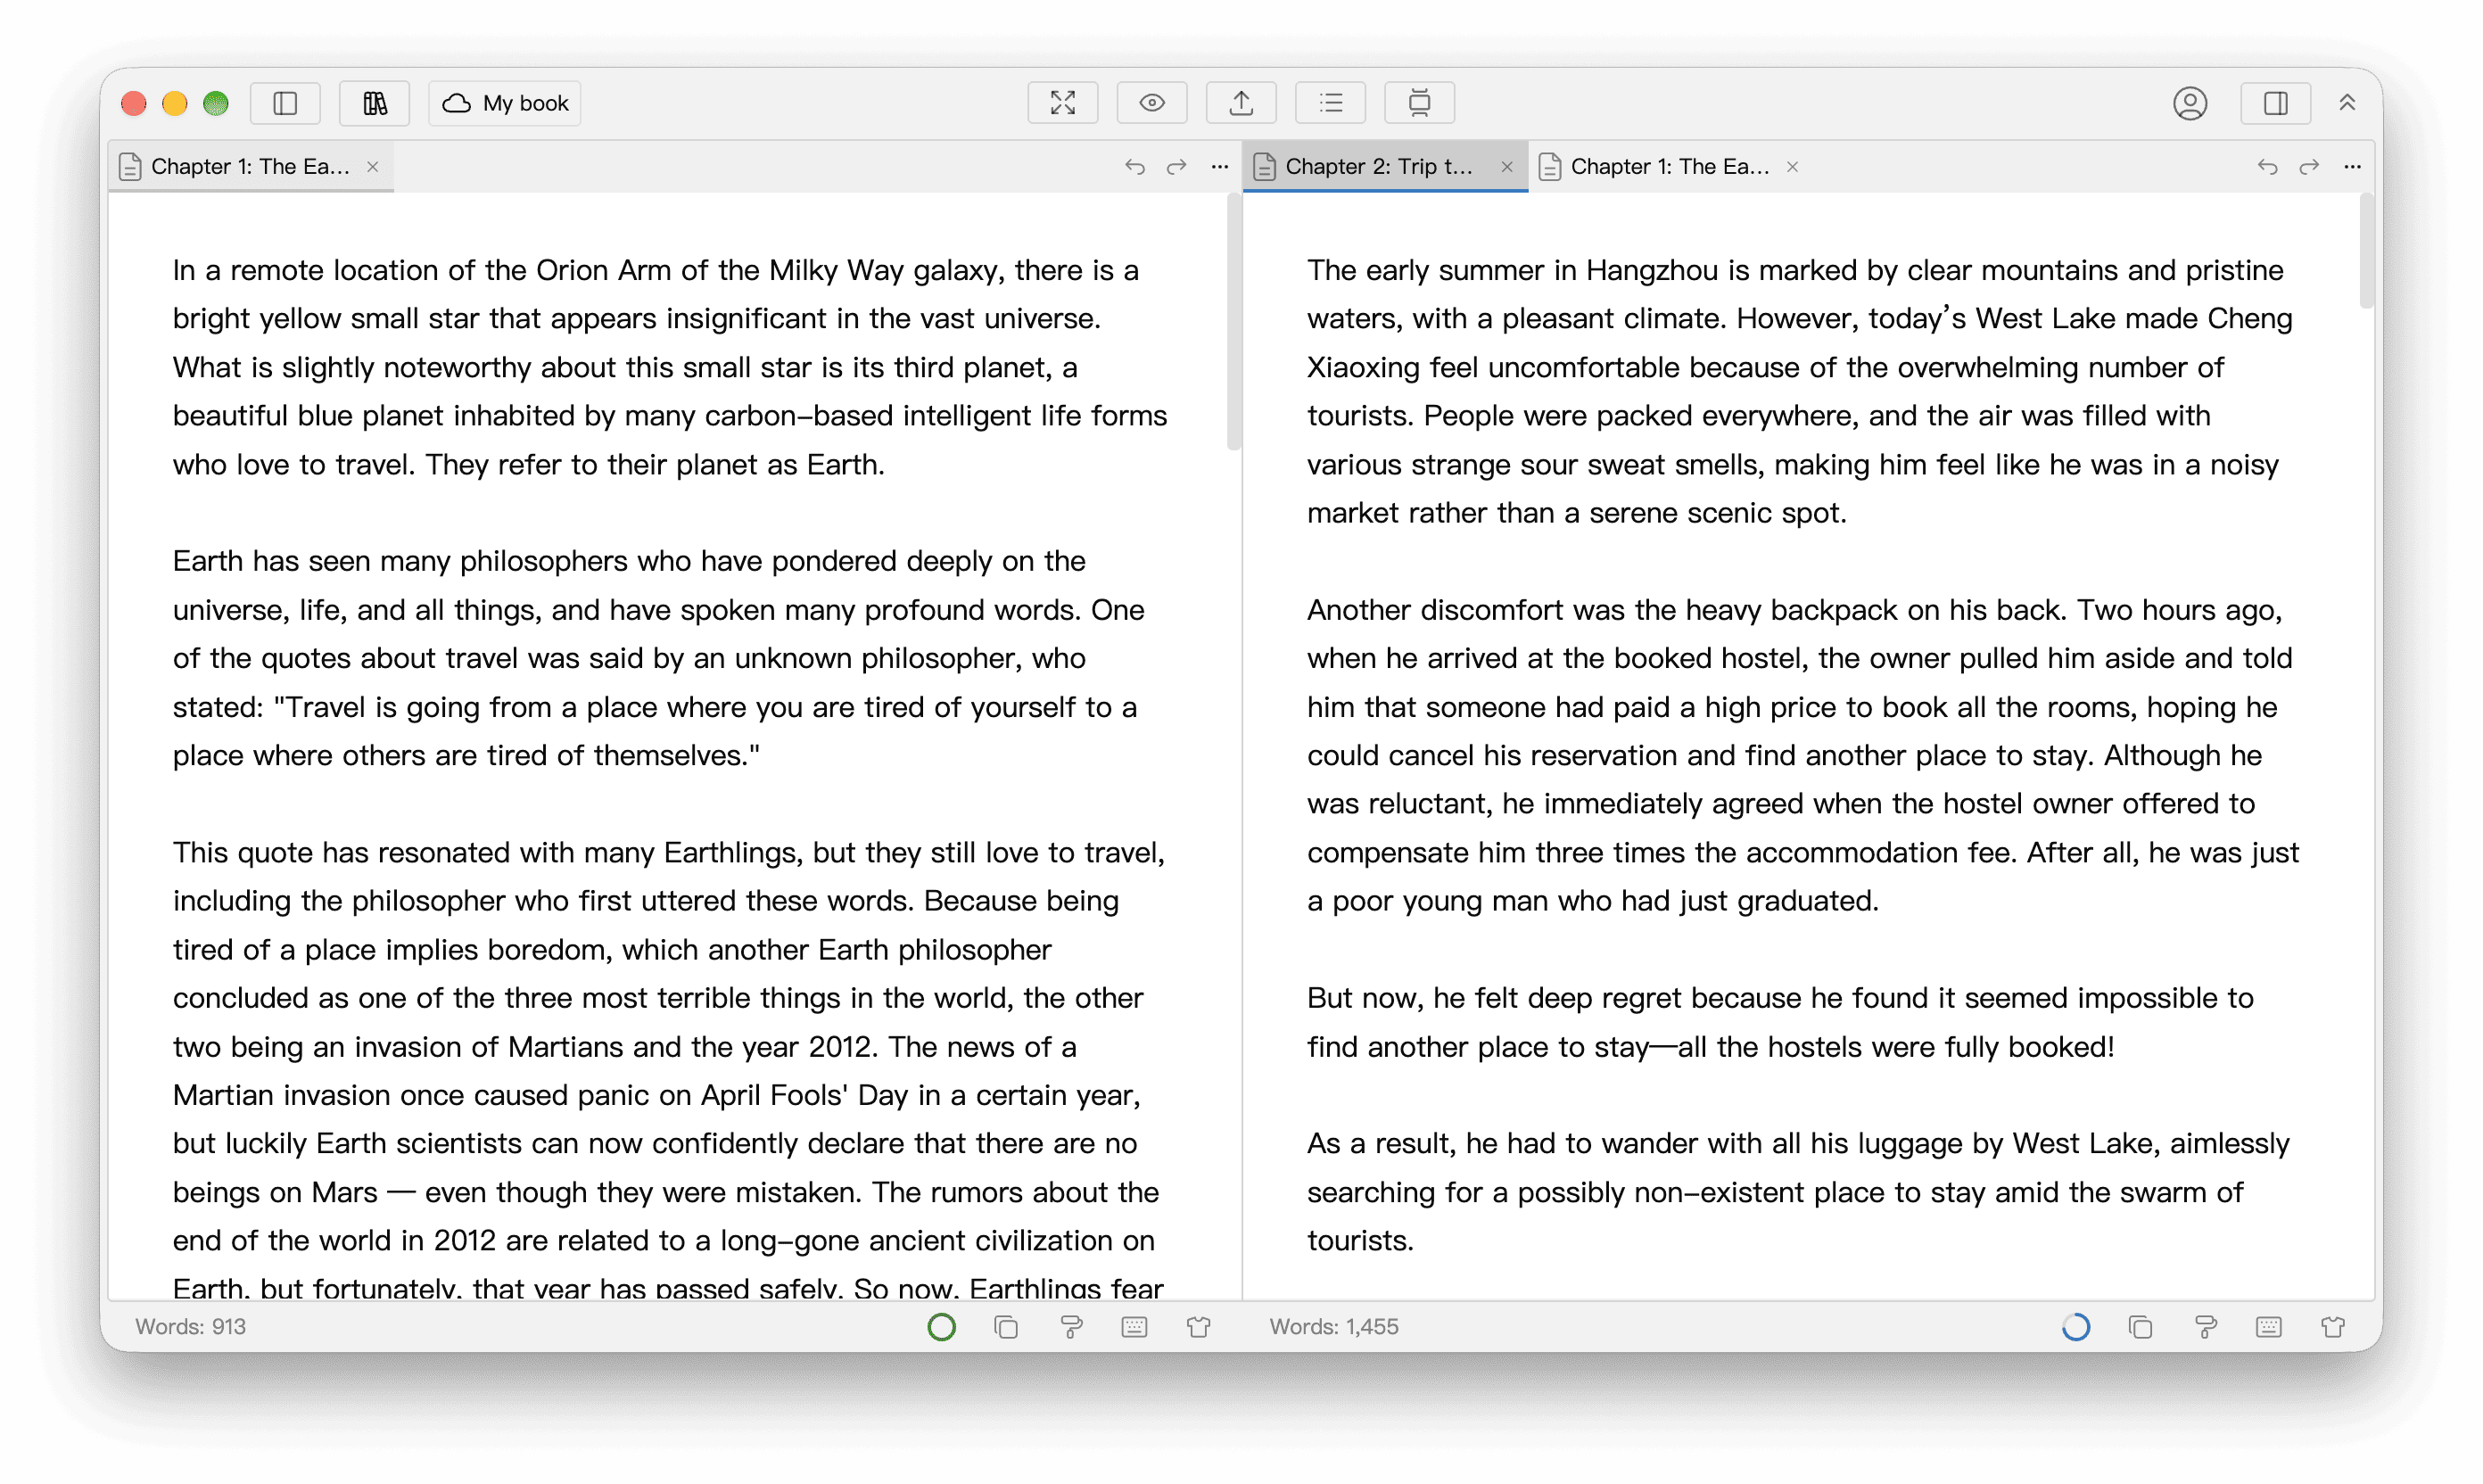
To keep reference material beside your writing, open it in one pane, then click the other pane to open and edit other documents.
Close Split View
Click the pane you want to keep, then return to a single pane using any of these methods:
- Press the split shortcut again.
- With tabs off, click the split button in that pane’s toolbar.
- Open the ellipsis menu on the right of that pane’s editor toolbar or tab bar and choose Restore Split.
Closing split view also unpins the pinned pane, if any, without deleting documents. If you need more independent viewing areas, use floating windows or open a Library in a new window.