
How do I rename a Library?
Libraries come in two types: Local Libraries and Cloud Libraries. Because they store data differently, the steps for renaming them also differ.
Rename a Local Library
A Local Library is an ordinary folder on your current device, usually with a .wplibrary extension. The folder name is also the Library name. To rename or move a Local Library, follow these steps:
Locate the Library folder.
Click the Library name at the top of the main window, then click the folder button beside “Local Library” in the popup to reveal the Library folder in your system’s file manager. See Library location.
Quit WonderPen completely.
Close other programs accessing the Library so that its files are not in use while you rename or move it.
Rename the whole Library folder in your system’s file manager, keeping the
.wplibraryextension.For example, change
D:\works\MyBook.wplibrarytoD:\works\MyNovel.wplibrary. To move the Library, move the entire folder, not just the database file inside it.Restart WonderPen, open Open or Create Library, select Local, then click Open from Computer… and select the renamed
.wplibraryfolder.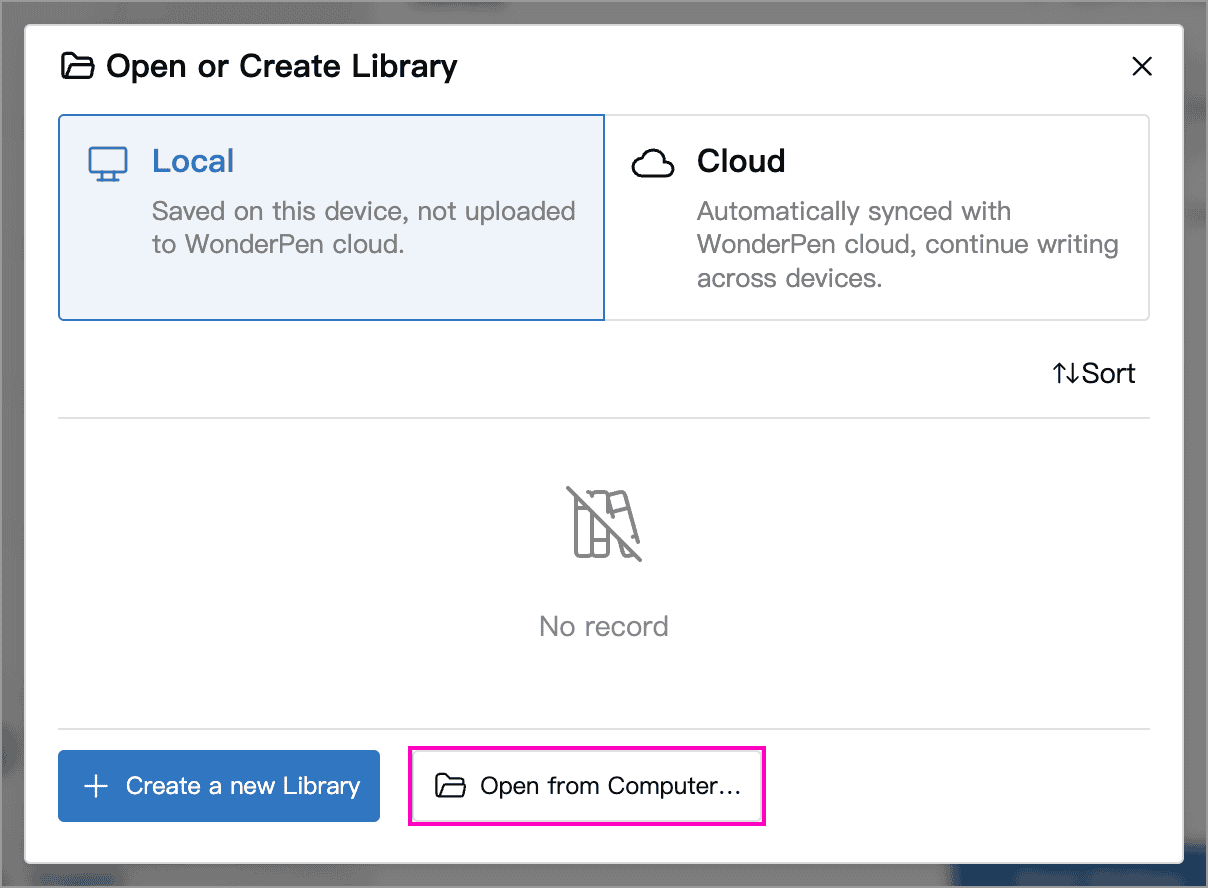
After checking the content, open the old path’s more menu in the Library list and choose Remove from list.
This removes only the entry from the list, not the Library files. Do not choose the action that deletes a Library from local storage.
Rename a Cloud Library
Open the Cloud Library and click its name at the top of the main window. In the popup, hover over the name and click the pencil button that appears, enter a new name and confirm.
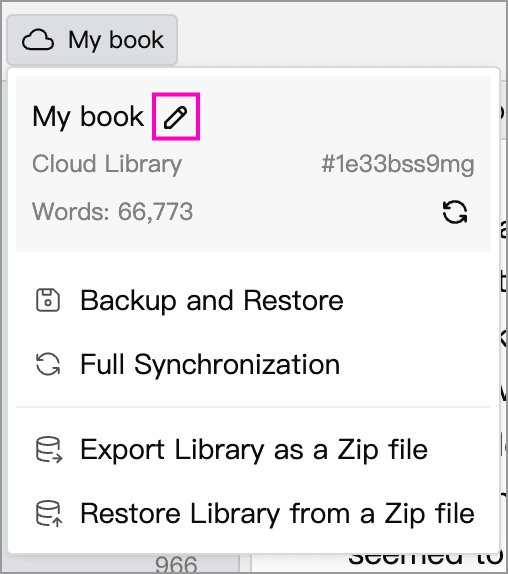
Alternatively, open Open or Create Library, select Cloud, open the Library’s more menu and choose Rename.
Renaming a Cloud Library requires a network connection. Its name updates through the cloud; do not manually rename its local cache folder.